How to... overhaul the disc brakes on your classic car

| 1 Apr 2019
Classic & Sports Car – How to... overhaul the disc brakes on your classic car

Drum brakes are common and, if well maintained and properly set up, perfectly adequate for many classics. But the introduction of the disc brake was a welcome revolution to better cope with ever-increasing speeds.

First of the breed was Dunlop, with early users often displaying a plaque on the rear of their vehicles stating 'DISCS' to advise following traffic of their supreme capabilities.

They weren’t without their faults, however. There were tales of D-types at Le Mans needing a 'double pump' at the end of the Mulsanne to bring the pads back into contact with the discs – their rotation having pushed the piston back into the caliper throat.

Modern seals are designed to minimise this effect (should you find yourself on the Mulsanne) but, with many calipers now nearing their 50th birthday, an overhaul may well be overdue.

A rebuild will almost certainly transform the feel and effectiveness of your brakes but, if that’s not enough, the specialists listed at the bottom of the page will be able to advise on uprating your system with different pad compounds, a servo or ventilated, cross-drilled and grooved discs.


STEP 1: DISMANTLING
Classic & Sports Car – How to... overhaul the disc brakes on your classic car

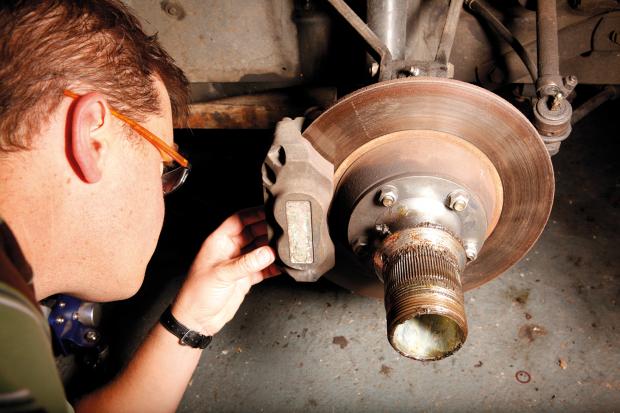
Shut off the flexi-hose with a brake clamp and clean the caliper with brake cleaner, but avoid breathing in any dust because it may contain asbestos.

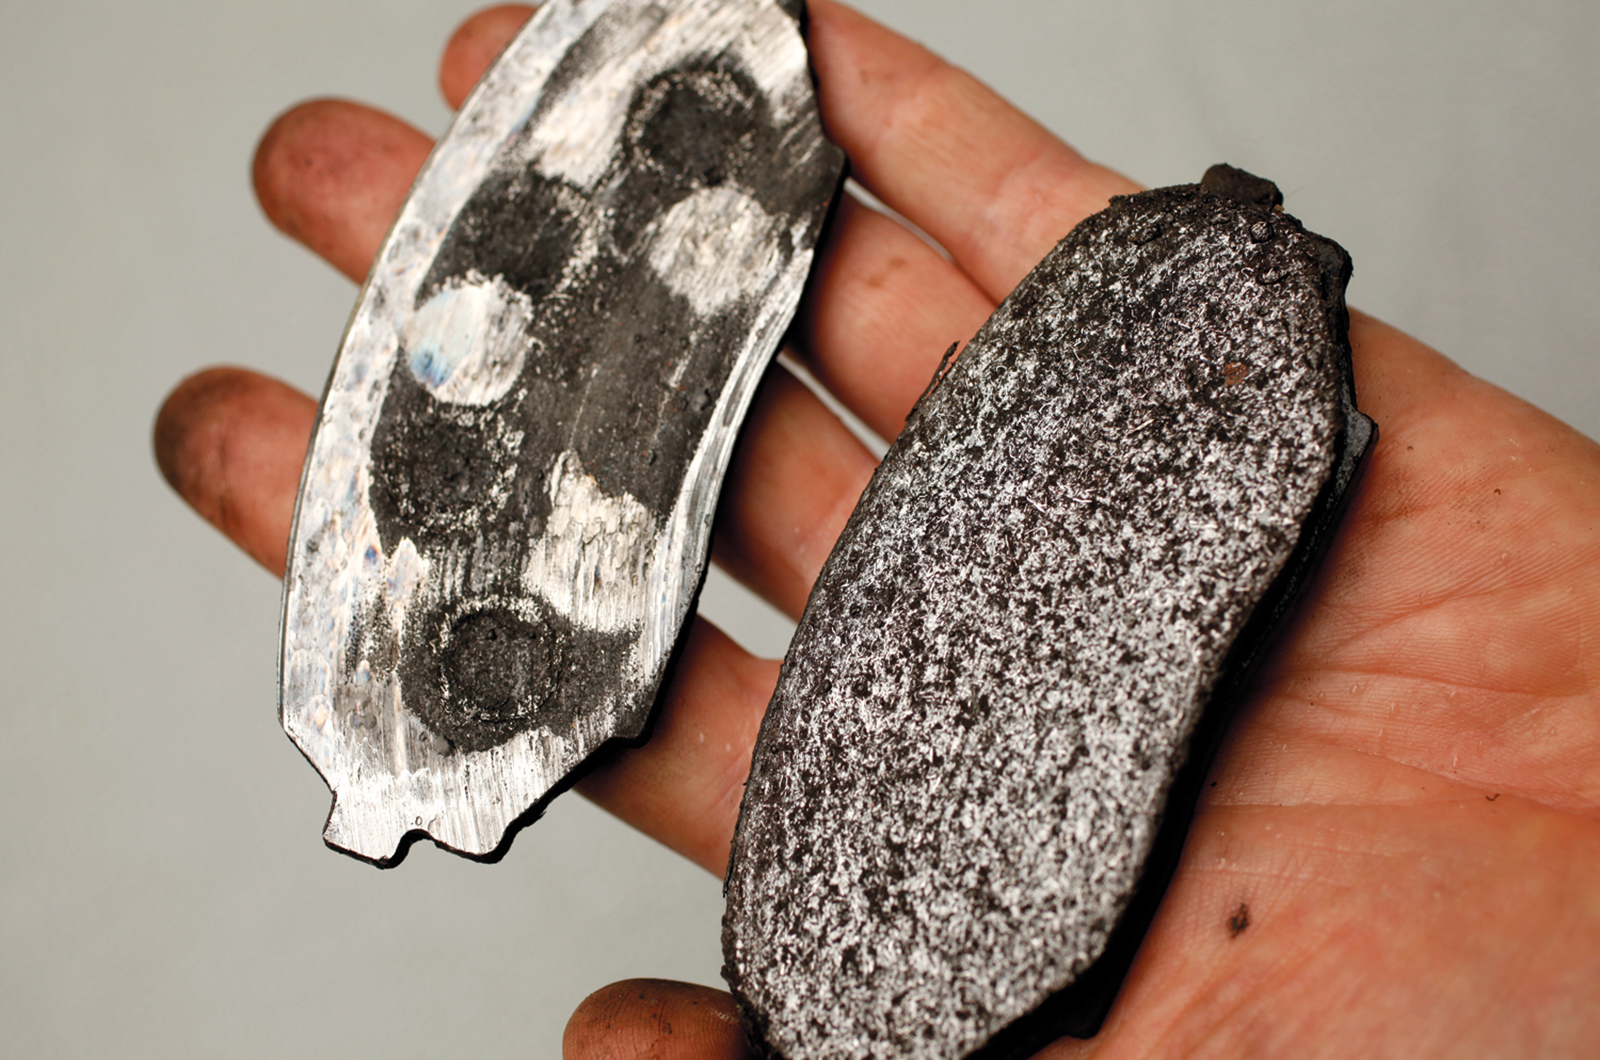
Remove the pads and inspect for wear. Uneven wear (shown above) can indicate a seized piston; push out the pistons by jury-rigging a foot-pump to the fluid inlet.

STEP 2: REMOVING CORROSION

Classic & Sports Car – How to... overhaul the disc brakes on your classic car

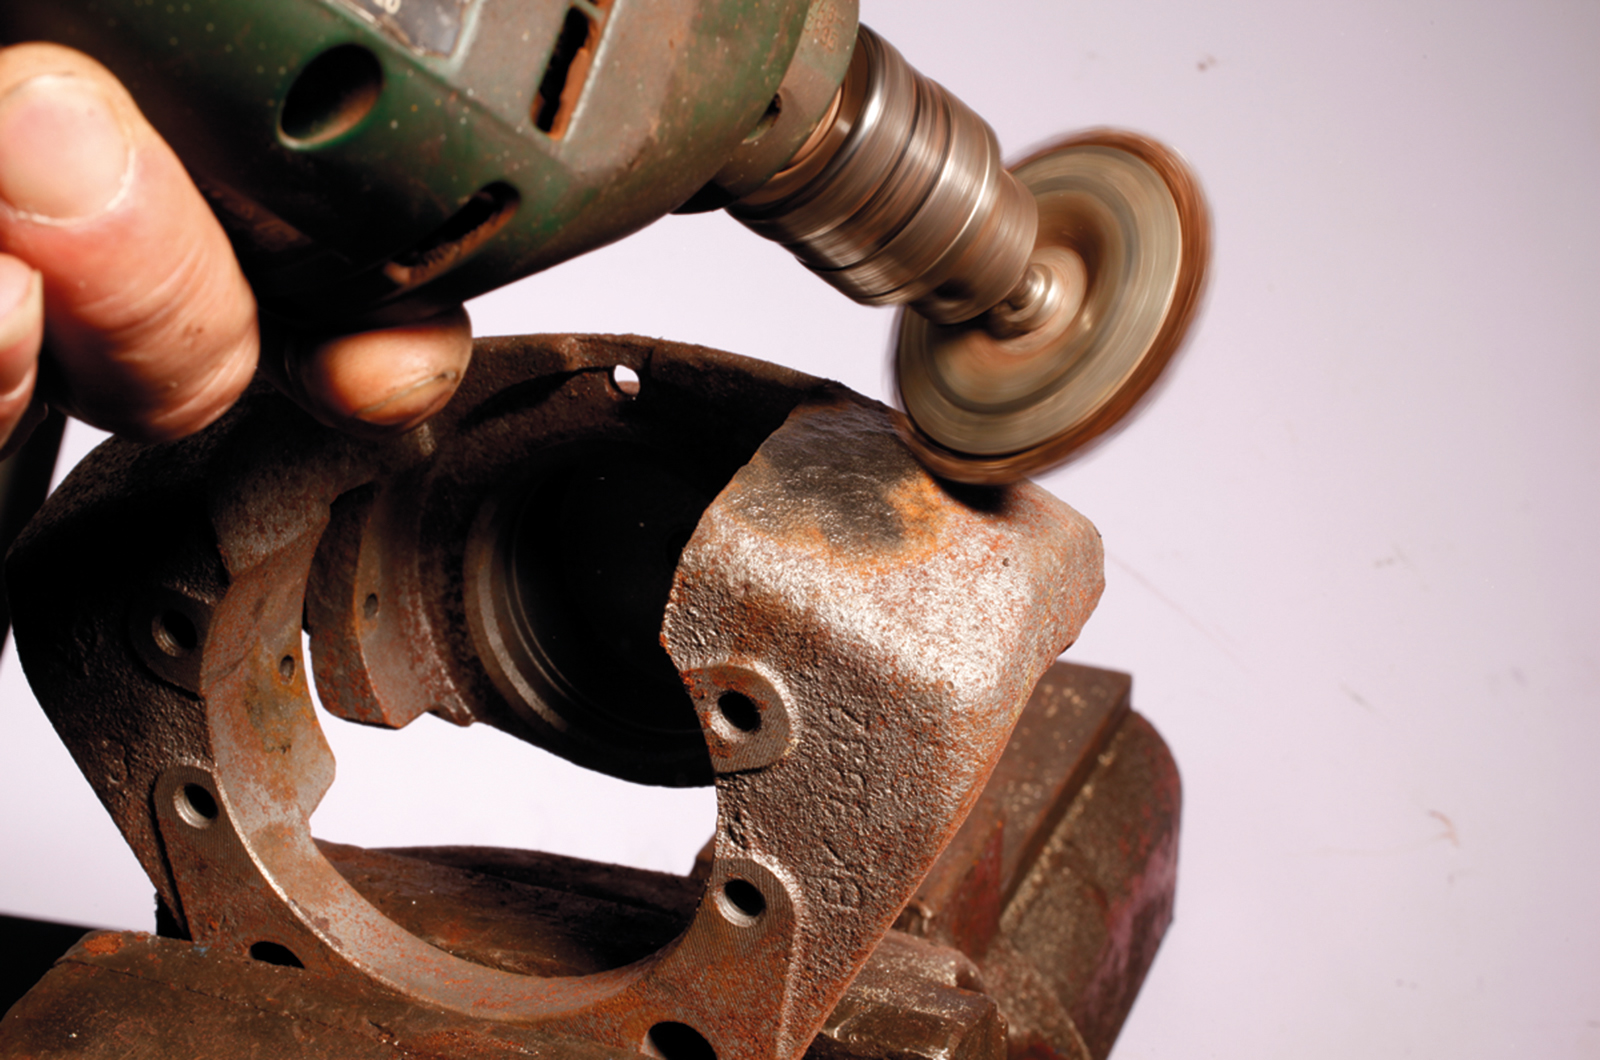
Bead-blasting the caliper body will produce the cleanest result. If you don’t have access to a compressor, time spent wire-brushing the body with a multi-tool or drill attachment should also be satisfactory.

Pay particular attention to nooks and crannies and clean the caliper afterwards to remove any debris.

STEP 3: REPAINT OR PLATE?

Classic & Sports Car – How to... overhaul the disc brakes on your classic car

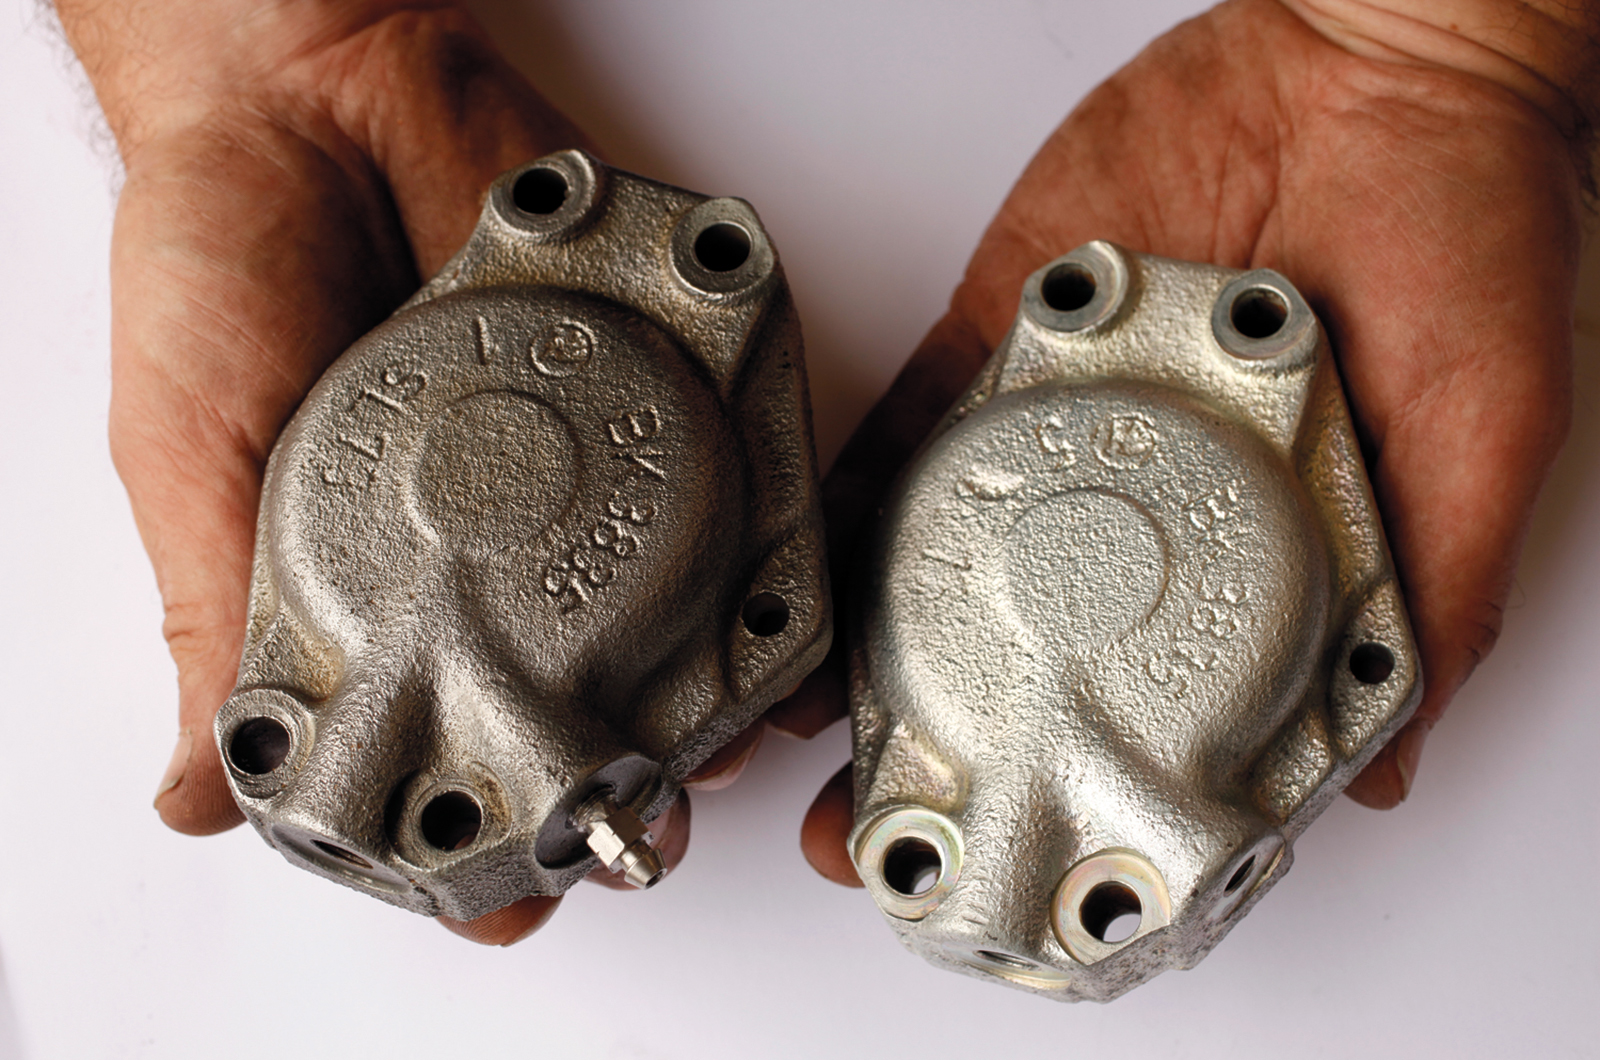
Original finishes will almost certainly have burnt off, leaving castings exposed to the elements.

Modern high-temperature paints can be very effective and are easy to apply at home, while zinc- and cadmium-plated finishes – though more costly – offer the best long-term corrosion protection.

STEP 4: ASSESSING PISTONS

Classic & Sports Car – How to... overhaul the disc brakes on your classic car

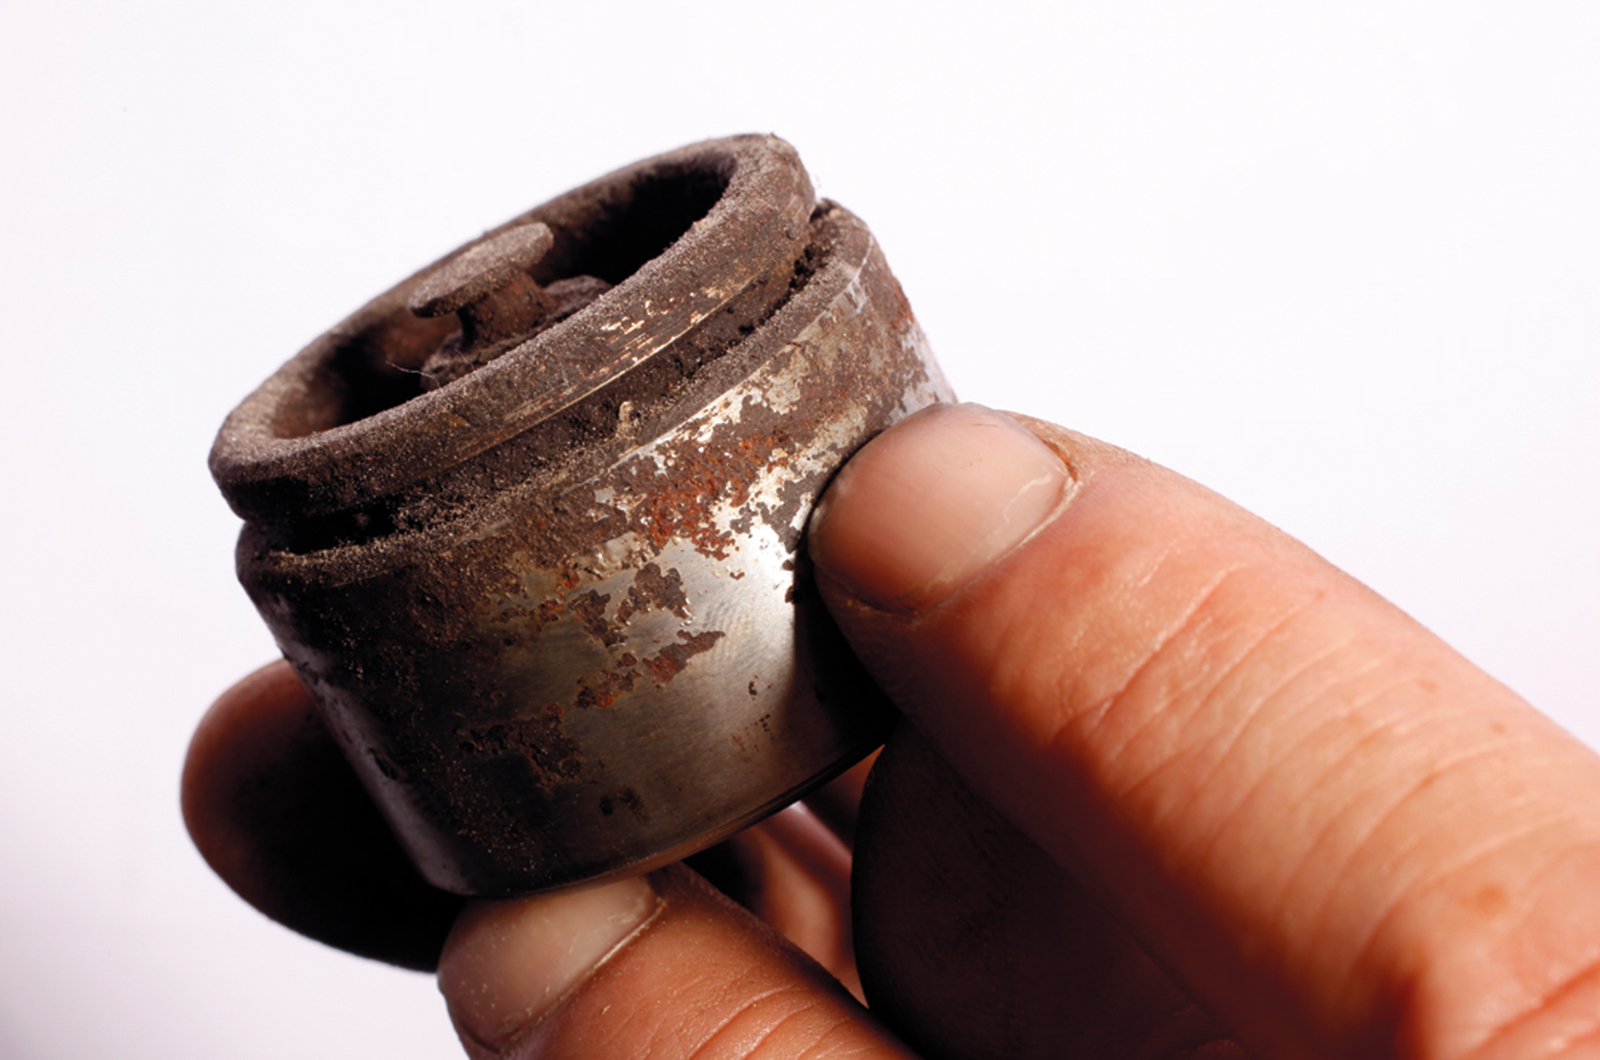
Pistons with this sort of damage are usually beyond repair. It is far simpler and more effective to replace them than go through the laborious process of machining and re-plating the originals.

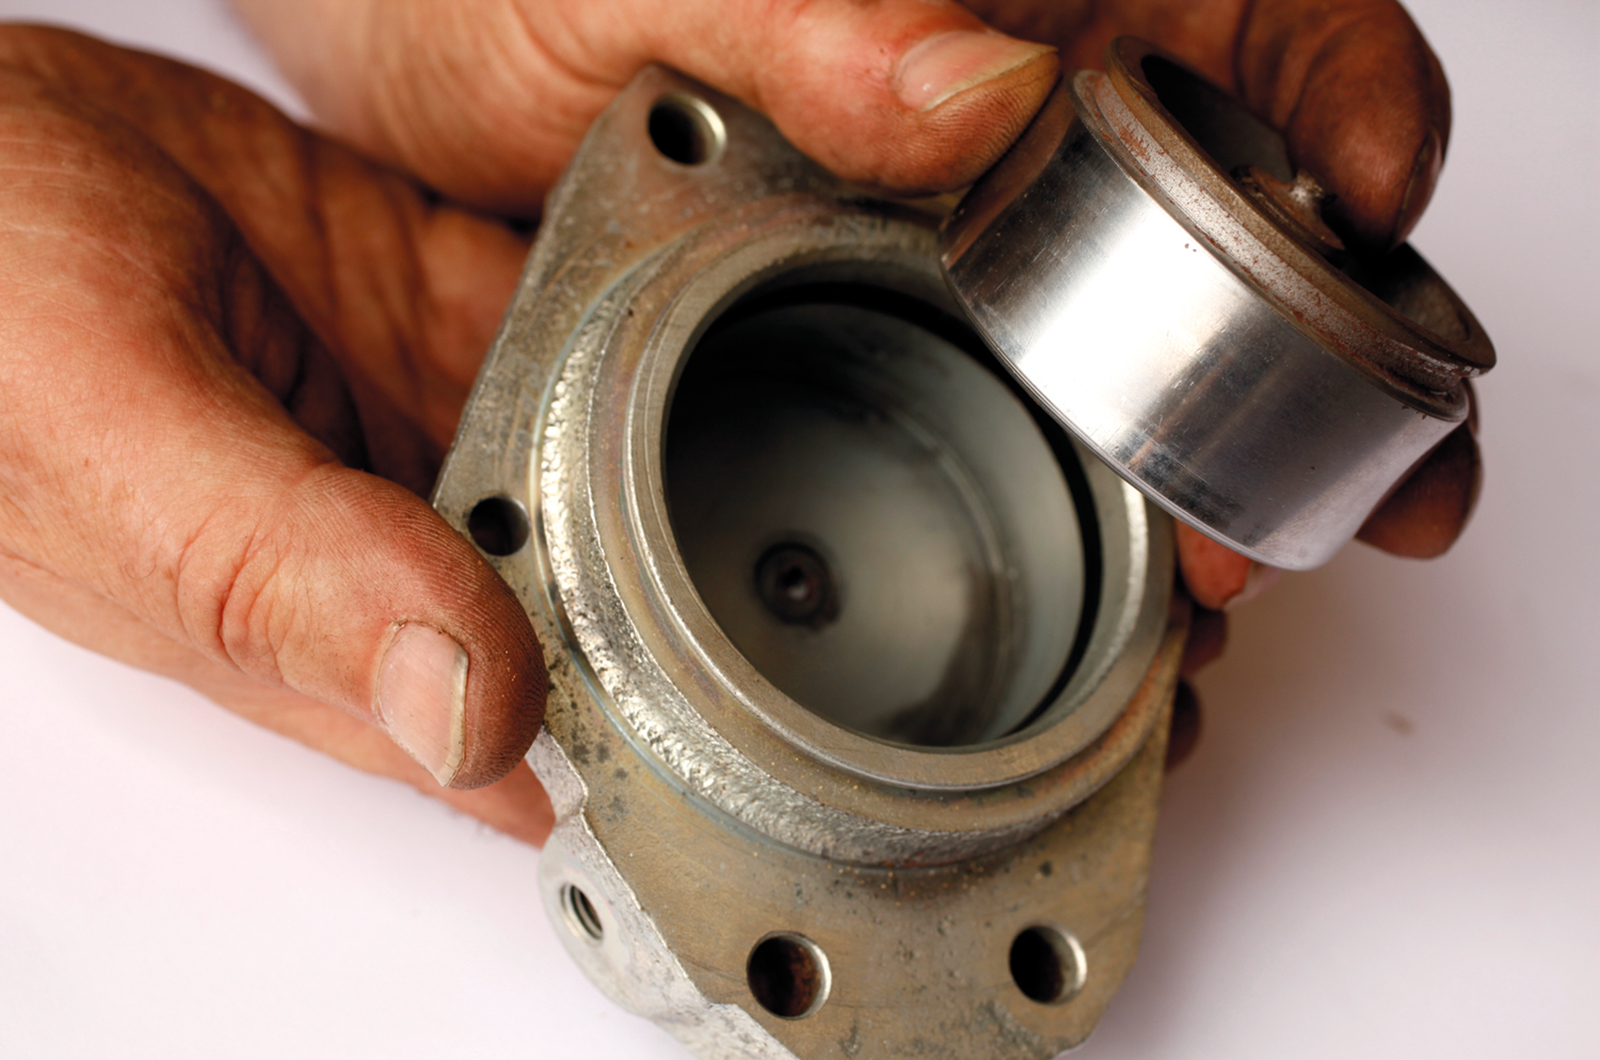
Polish internals of caliper and serviceable pistons with 2000-grit paper to clean up surface imperfections.

STEP 5: SEAL KIT

Classic & Sports Car – How to... overhaul the disc brakes on your classic car

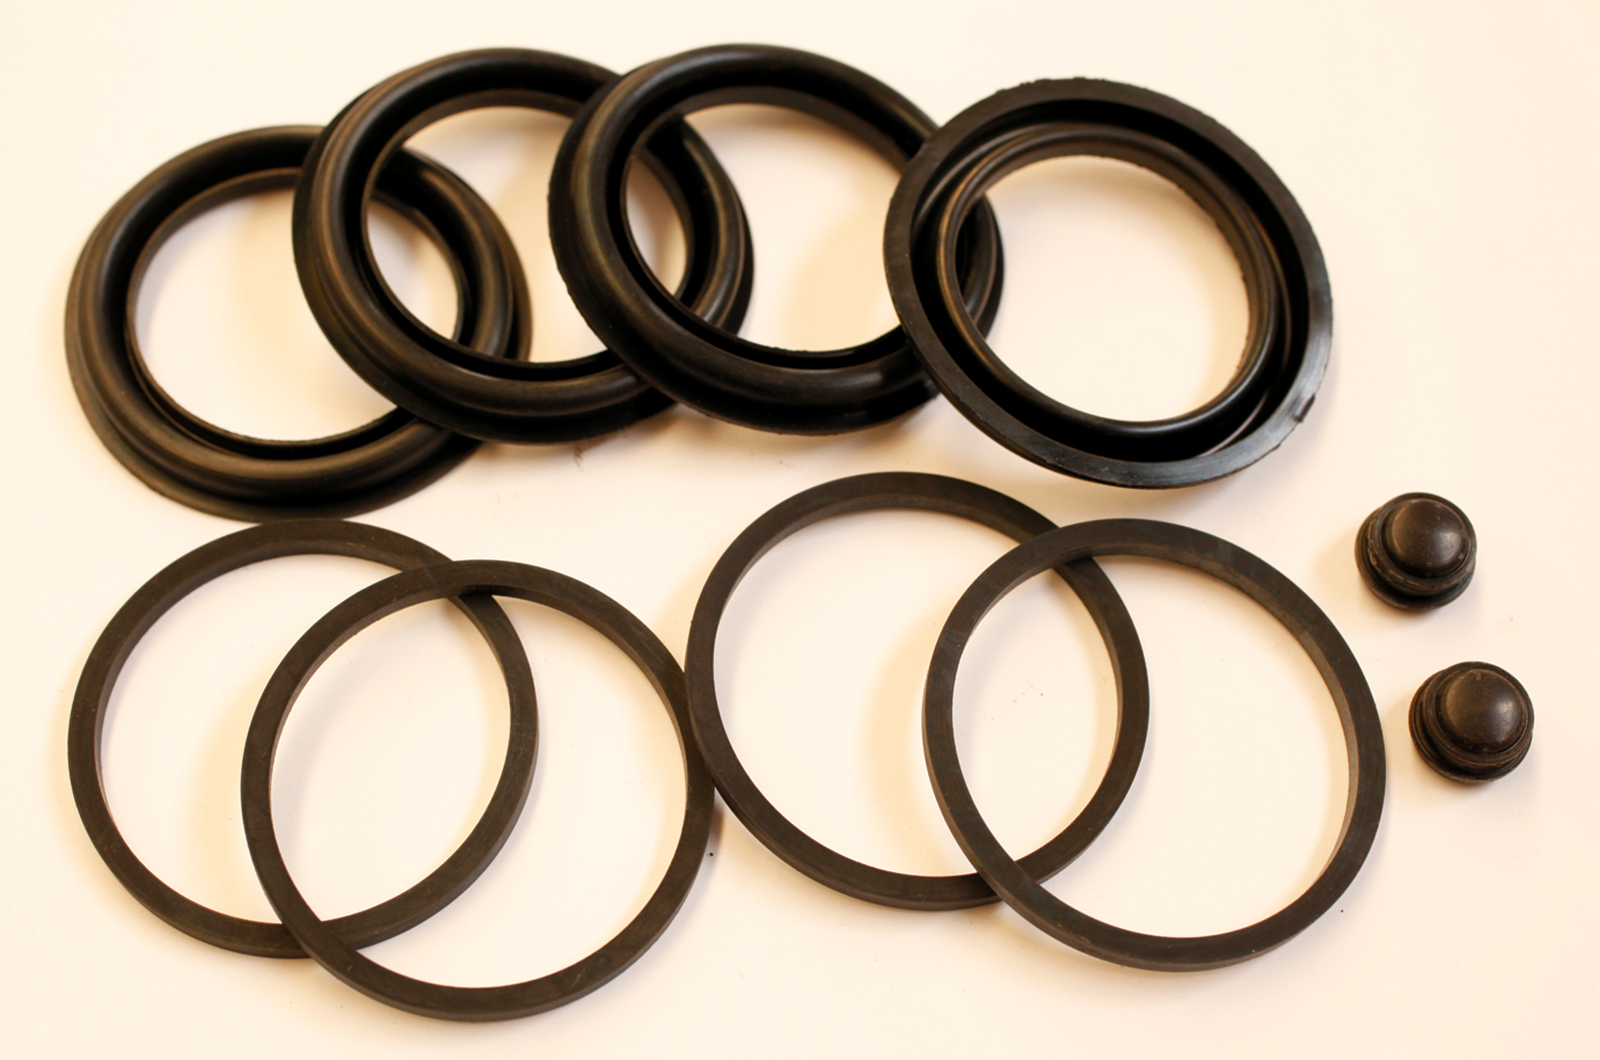
Before fitting any seals, check each one for damage.

In an axle-set for twin-pot calipers there should be four square-section seals to retain the brake fluid, plus four larger ones to prevent dust from getting between the piston and caliper casting. The small rubber domes are bleed-nipple covers.

STEP 6: ASSEMBLY

Classic & Sports Car – How to... overhaul the disc brakes on your classic car

Lubricate the inner seal with fresh brake fluid and push it into the groove inside the caliper body, avoiding any wrinkles or bulges.

Then lubricate the pistons with fluid and press them into the caliper by hand before fitting the dust seal.

Reassemble both sides and attach any external pipework.

STEP 7: BLEEDING

Classic & Sports Car – How to... overhaul the disc brakes on your classic car

Attach the caliper using new lock-washers, then fit the feed pipe and brake pads – remember to use new retaining pins.

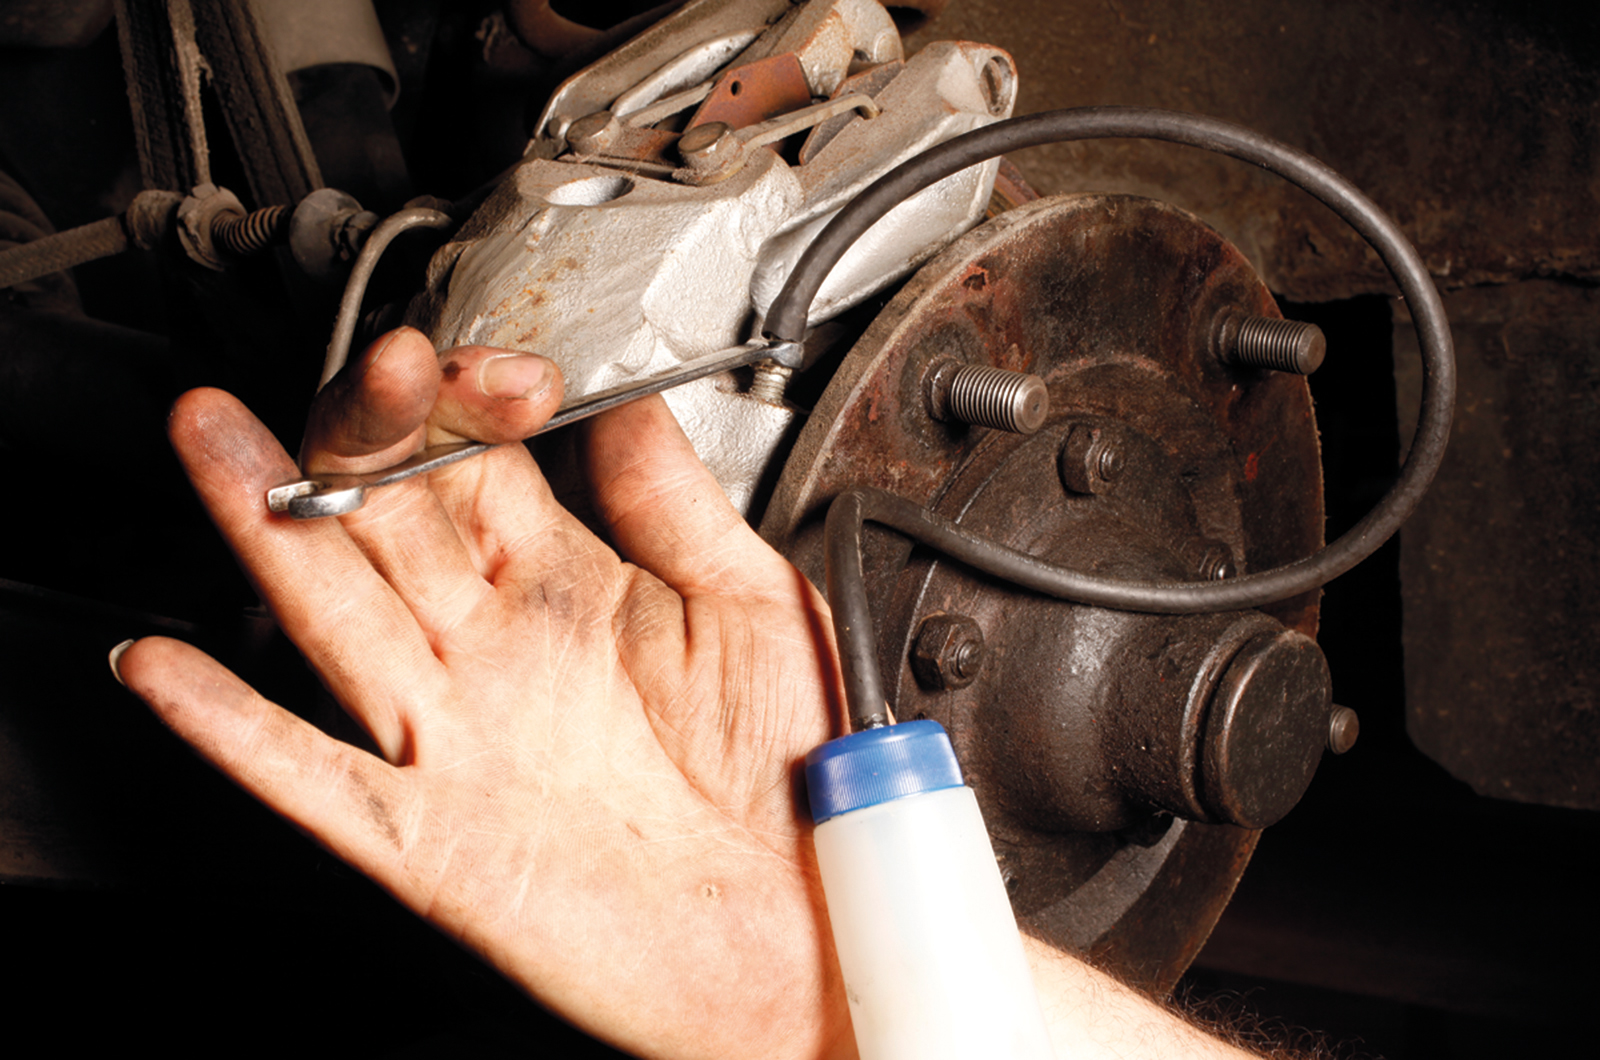
Unclamp the flexi-hose and bleed the system with a vacuum or pressure bleeder, or have someone pump the pedal.

Clean with brake cleaner and test for leaks by applying the brakes hard.

STEP 8: ADJUSTING

Classic & Sports Car – How to... overhaul the disc brakes on your classic car

Some disc-braked cars have small drums within the rear hubs for the handbrake, others use auxiliary calipers.

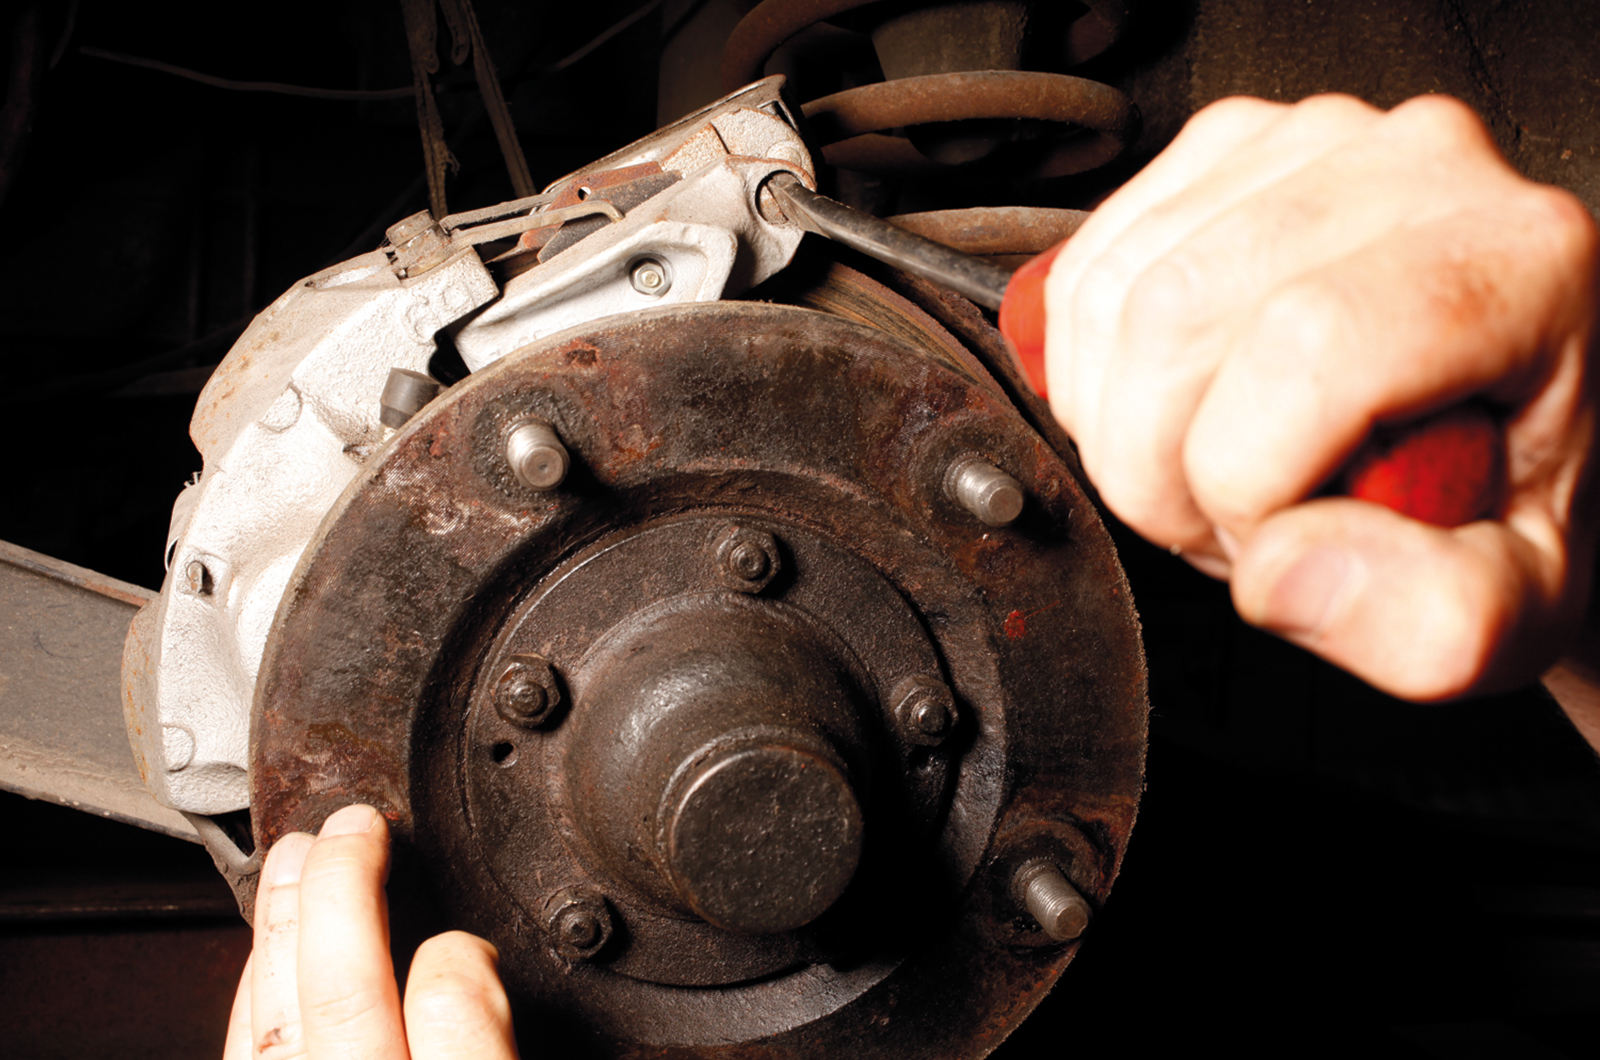
To set them, tighten the adjusting screw until the pads are in contact with the disc, then slacken off around a third of a turn.

Check that the brakes bite without excessive handbrake lever travel.


Specialists


READ MORE

Check out all our ‘How to…’ guides here

How to buy a classic car

How to… rustproof your classic car

How to… adjust your classic car’s headlights

How to... change a clutch on your classic car

How to... renew your classic car's balljoints