How to… renew a wheel bearing on your classic car

| 30 Apr 2020
Classic & Sports Car - How to… renew a wheel bearing on your classic car

A grumbly wheel bearing is annoying, and could be an MoT failure.

Excess play, which you can adjust out following step seven below, also causes brake-pad knock-off, in which the disc pushes the pads back into the caliper and the first application of the pedal feels spongy until the pads ‘catch up’ again. 

Luckily, the double taper-roller type of front-wheel bearings on rear-drive cars are easy to change – and, with a few small variations, the design is roughly the same.

If your car has drum brakes, the procedure is broadly similar – you won’t have to remove the caliper, but you may need a drum-puller instead.

You’ll normally buy bearings from your local motor factor as a kit, which includes any oil seals and extra races needed, along with a sachet of grease, but they usually cost less direct from bearing suppliers.

Every roller type carries a specification number, which remains the same whoever makes it – Timken and SKF are two of the biggest. So, armed with that number, you can source your bearings and seals slightly cheaper – though, of course, it leaves the car stranded mid-job, because you have to pull the bearings out to read the numbers.


1: REMOVE BRAKE CALIPER
Classic & Sports Car - How to… renew a wheel bearing on your classic car

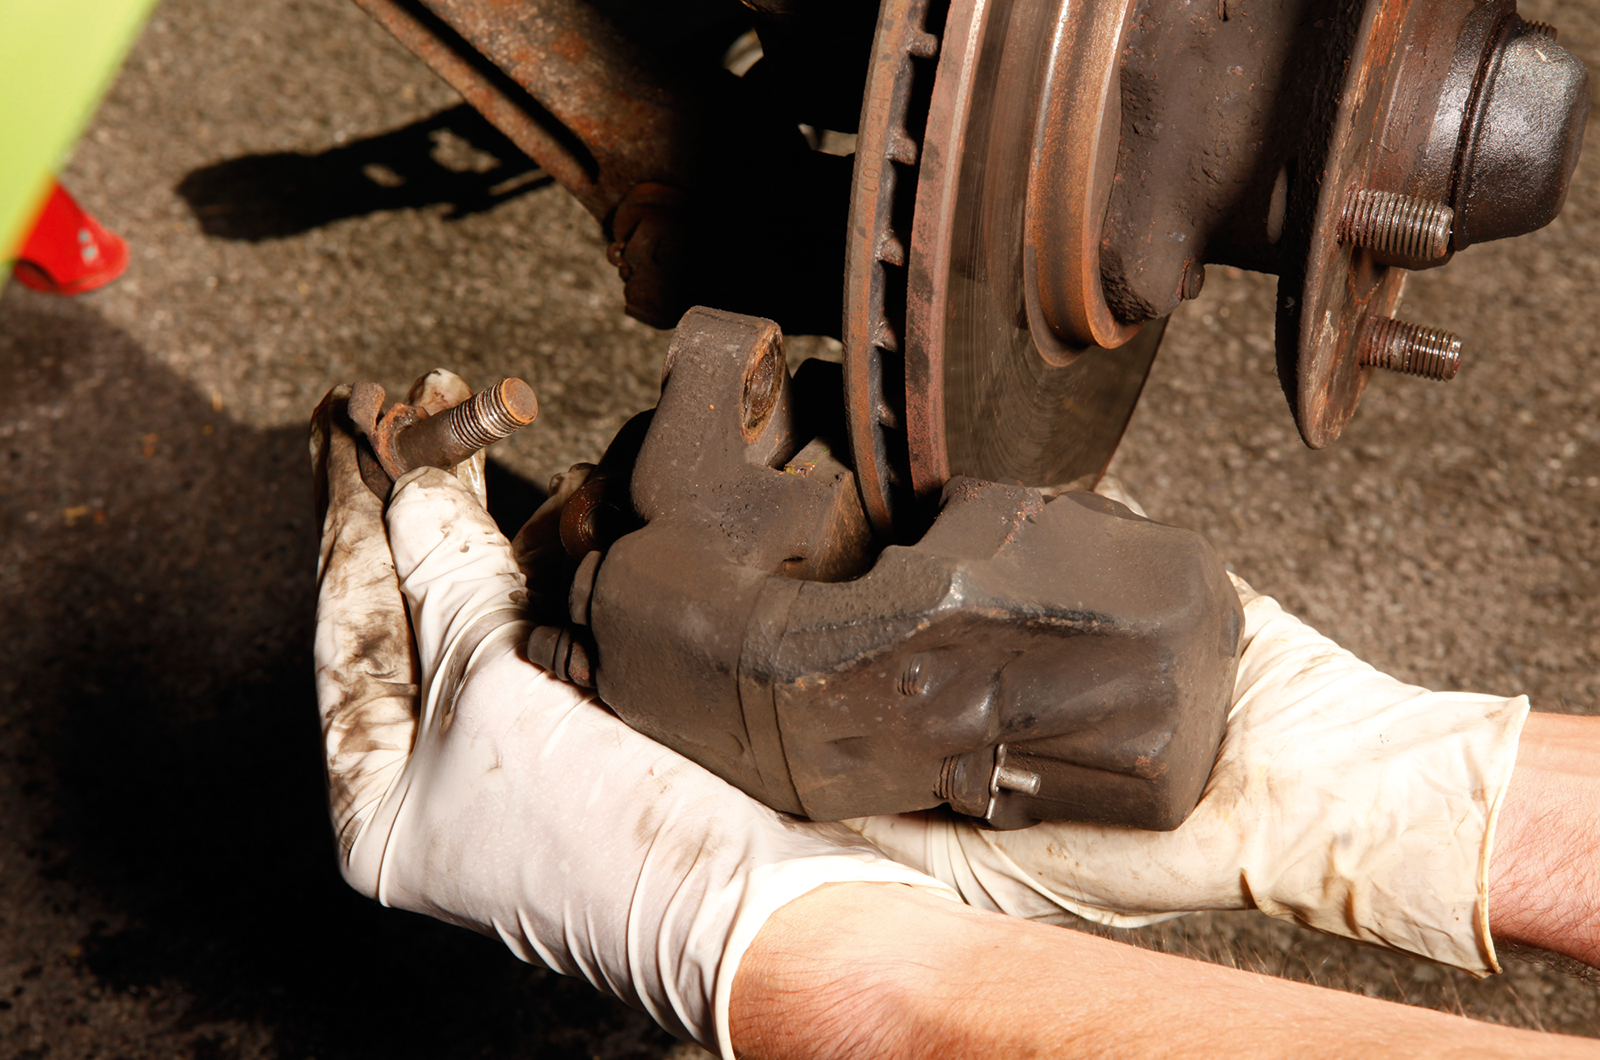
Fold back the locking tabs, if fitted, undo the two bolts (don’t lose the spacer washers, if fitted) and hang the caliper out of the way, if it’s on a flexi pipe.

With rigid pipes (as on our Escort), it has to come off – a plastic bag under the reservoir cap helps to slow the fluid loss. So we had to bleed the brakes afterwards.

2: TAKE OFF THE COVER

Classic & Sports Car - How to… renew a wheel bearing on your classic car

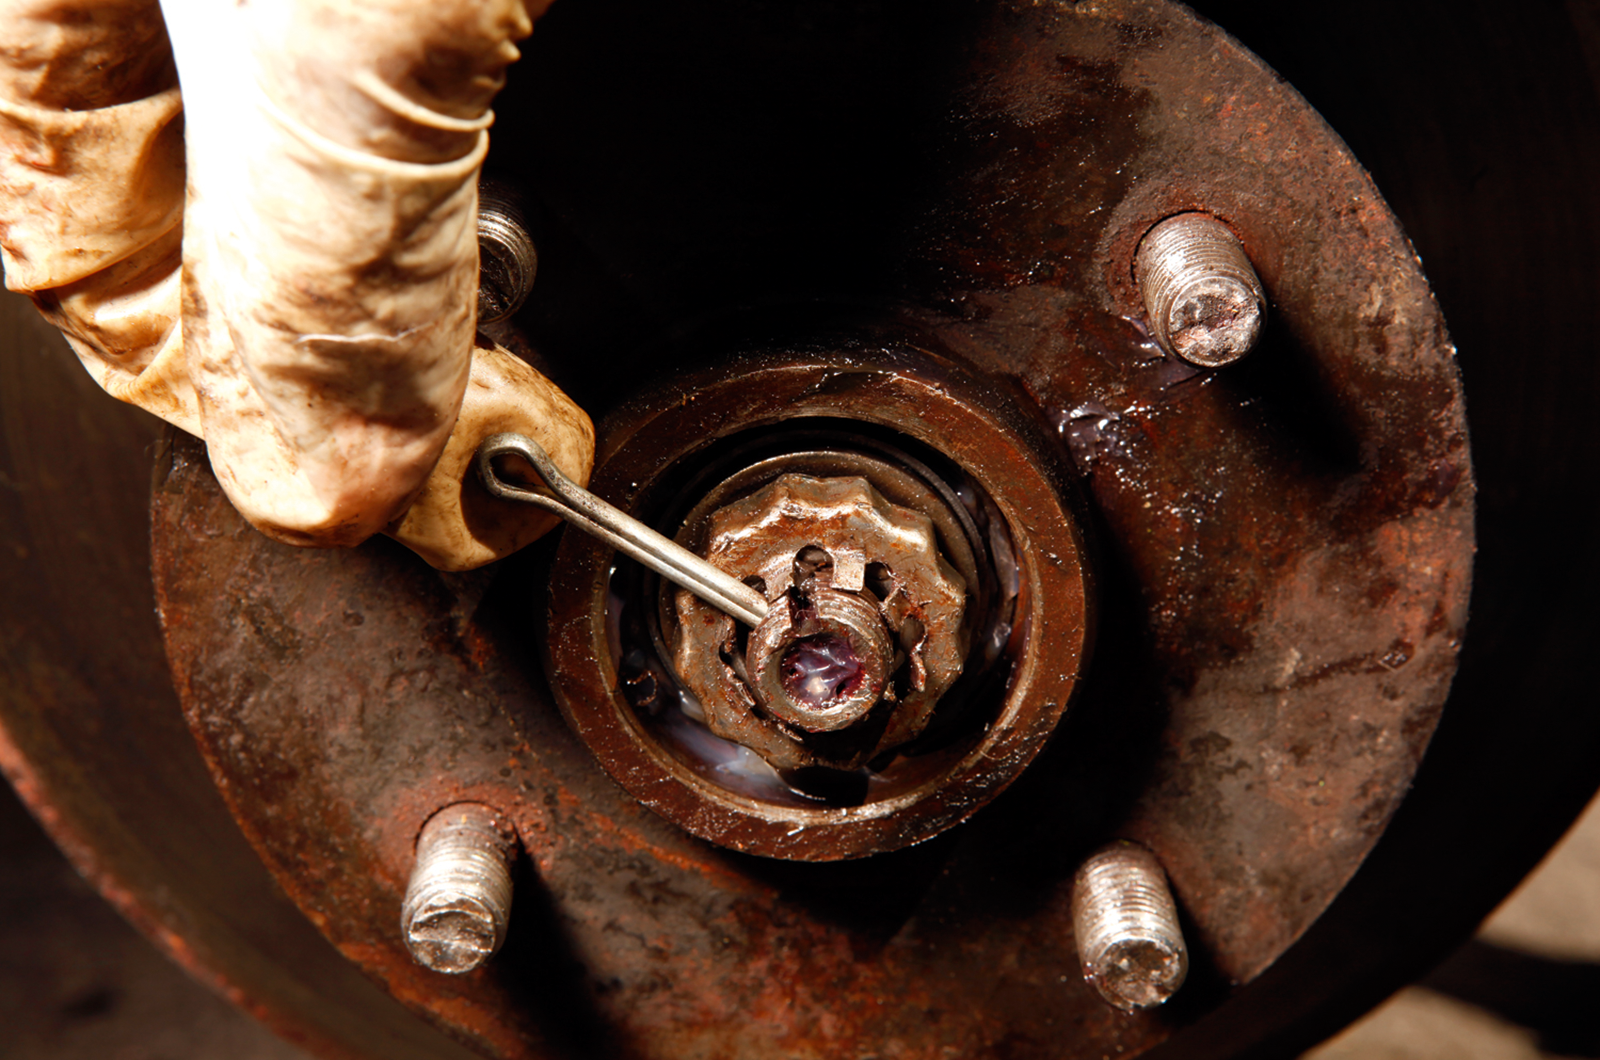
Prise off the dust cap (it may be screwed on but on many cars it’s an interference fit), then straighten and pull out the split-pin.

Some cars have castellated nuts, others such as this Ford have a retainer that fits over the nut to hold it in place, so remove it, and undo the hub nut – it shouldn’t be that tight.

3: EXTRACT THE BEARING

Classic & Sports Car - How to… renew a wheel bearing on your classic car

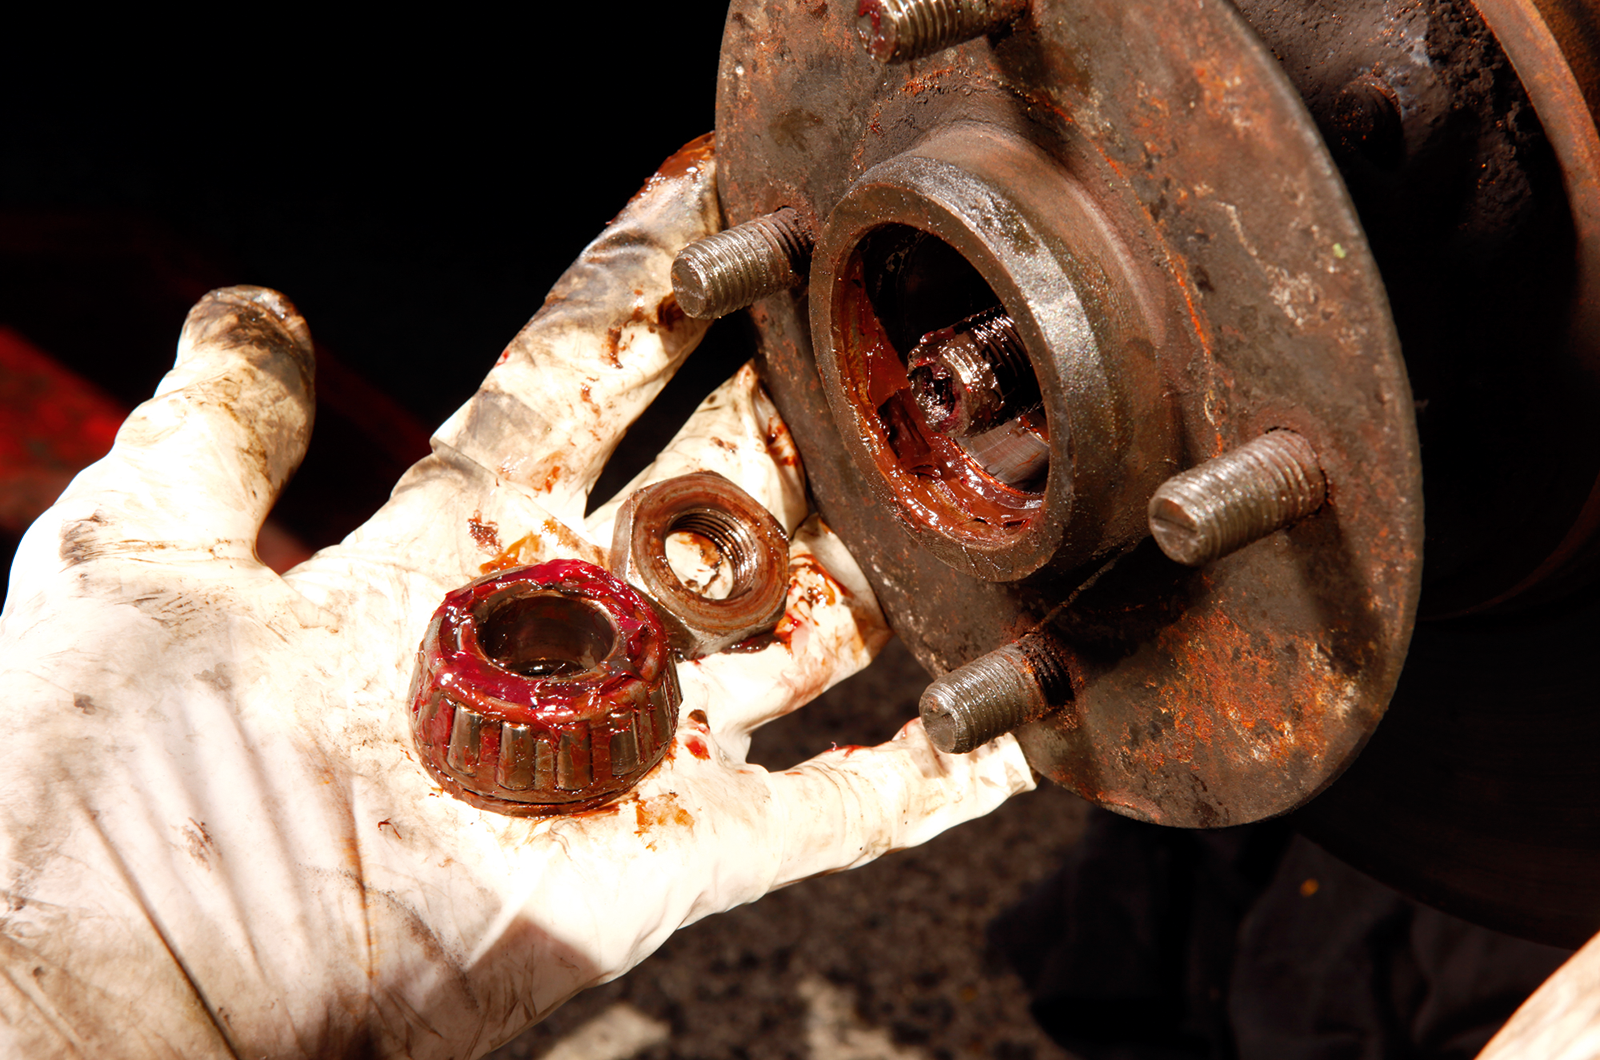
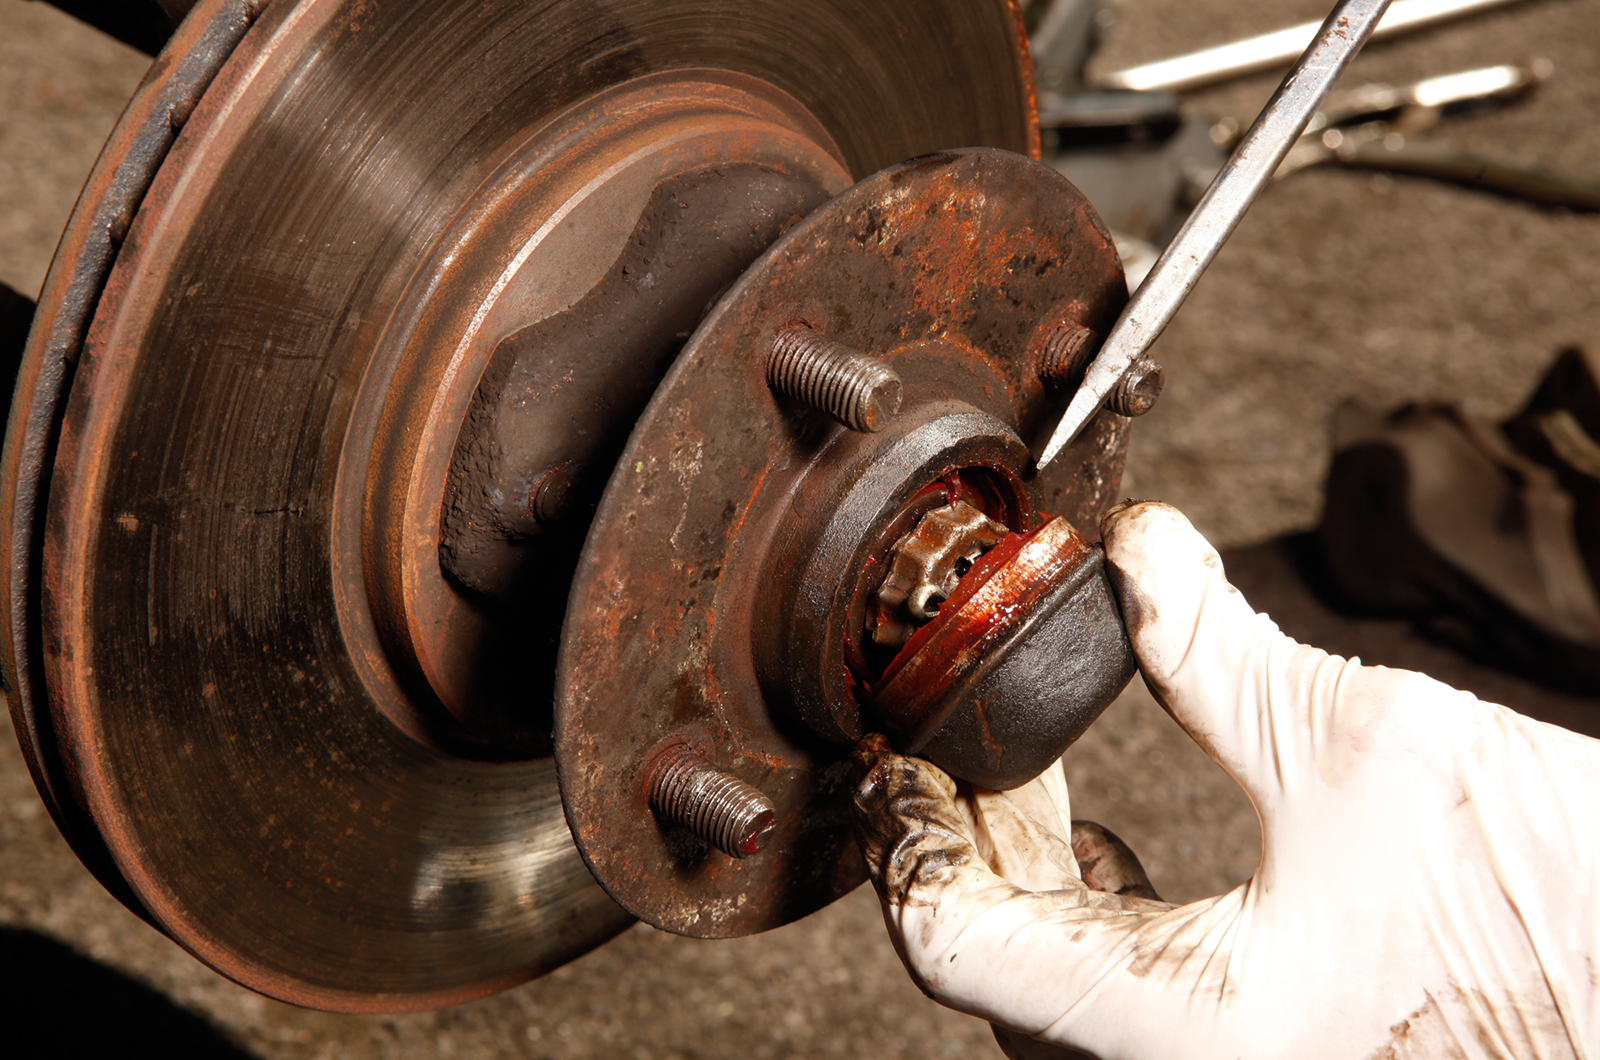
With the hub nut removed, the thick washer below it and the outer bearing will just about fall out into your hand... or simply pull the hub off the spindle to bring the bearing and washer out.

This is where the job starts to get very messy – with lots of old grease – so it’s a good idea to wear gloves.

4: LIFT OUT THE REAR OIL SEAL

Classic & Sports Car - How to… renew a wheel bearing on your classic car

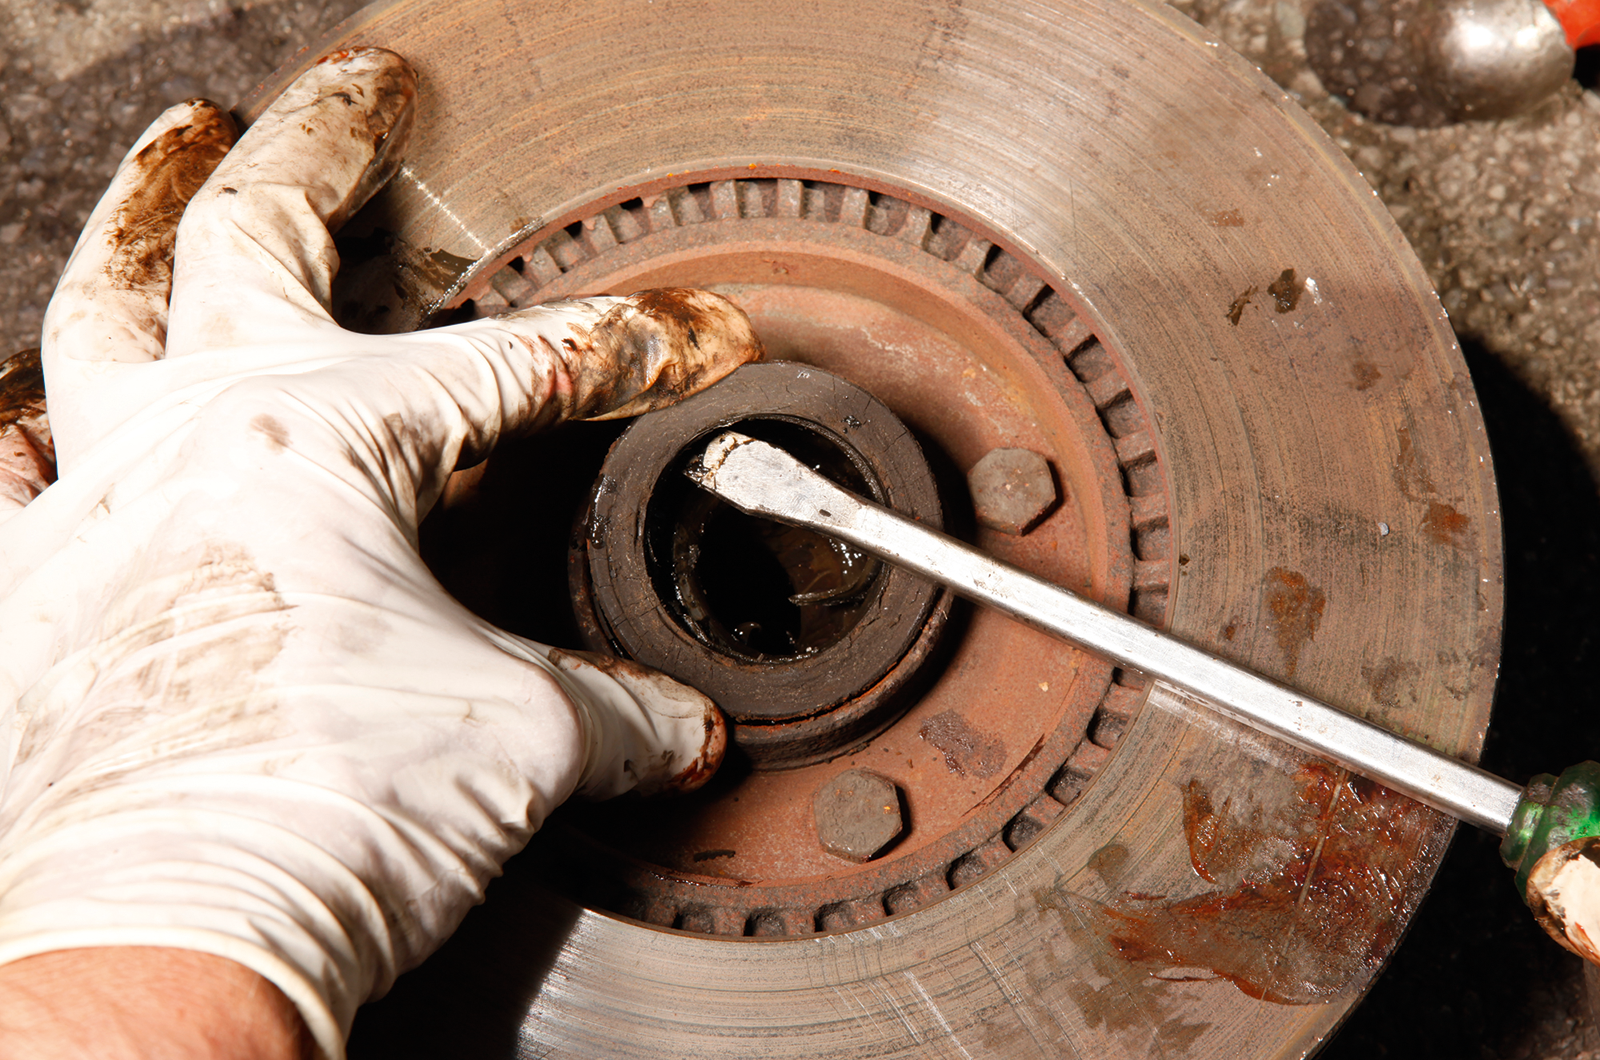
The rear bearing’s oil seal needs to come out so that you can remove the roller. A new one should come with the bearing kit, but check first: removal often destroys them.

Prise it out with a screwdriver like this – whacking the handle with the flat of your hand – or, if it’s stubborn, tap it out from behind with a drift.

5: INSTALL A NEW REAR BEARING

Classic & Sports Car - How to… renew a wheel bearing on your classic car

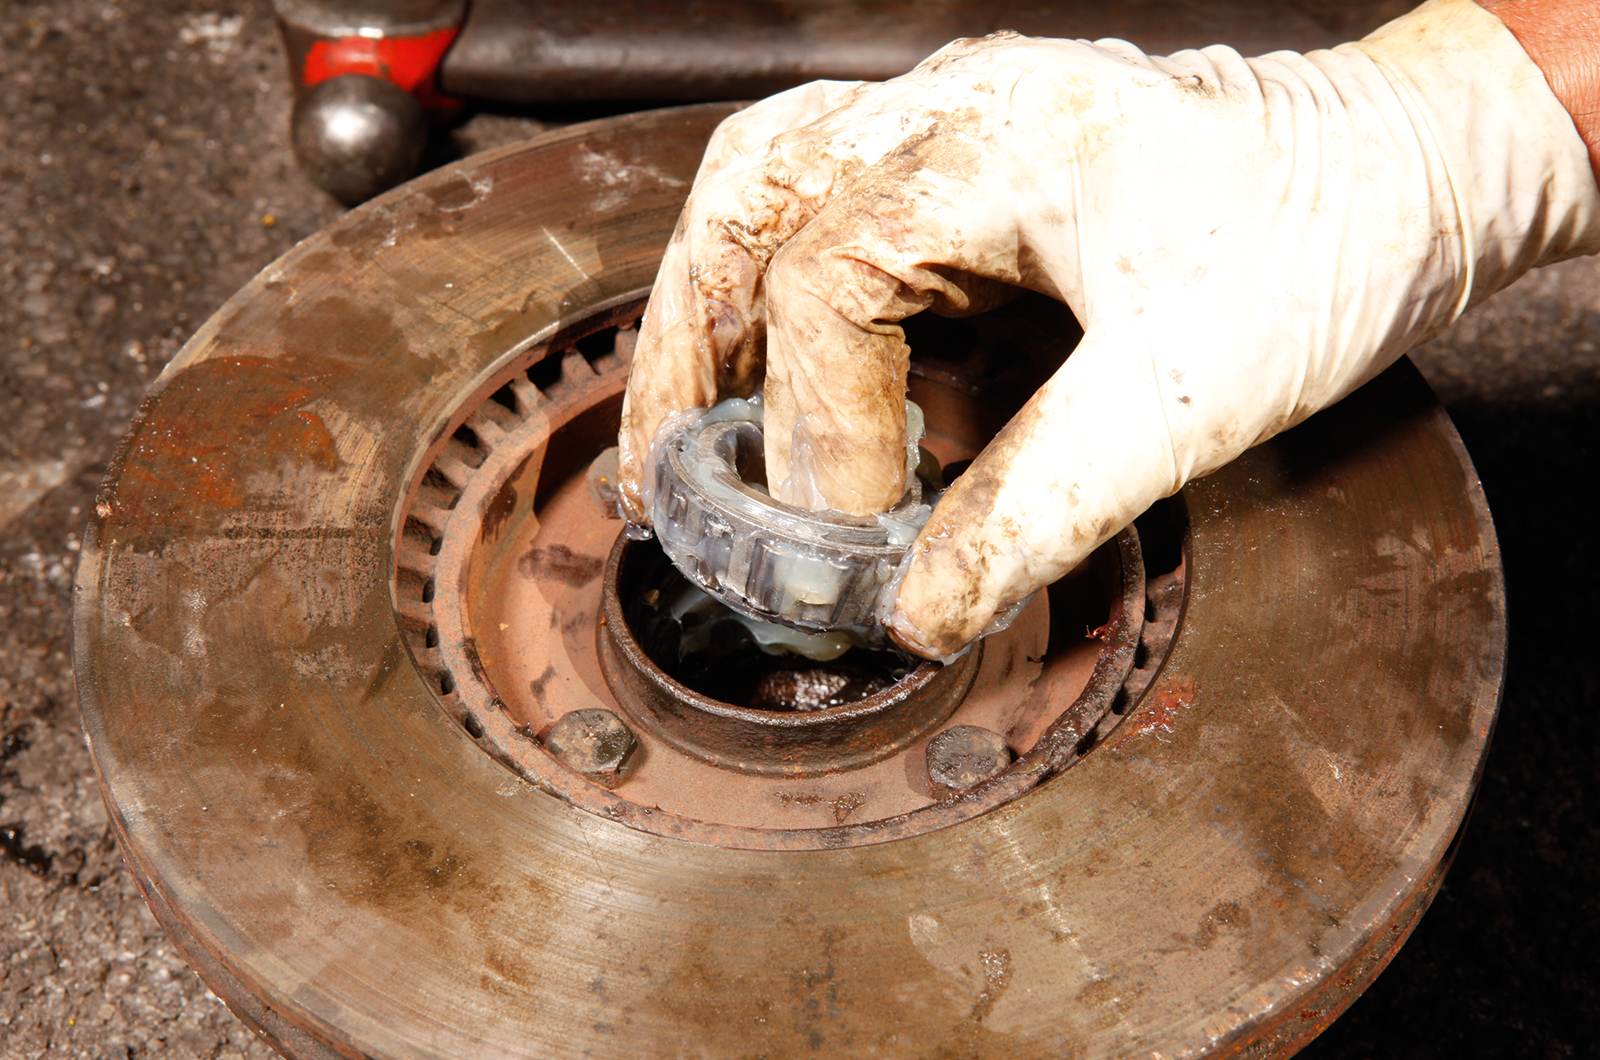
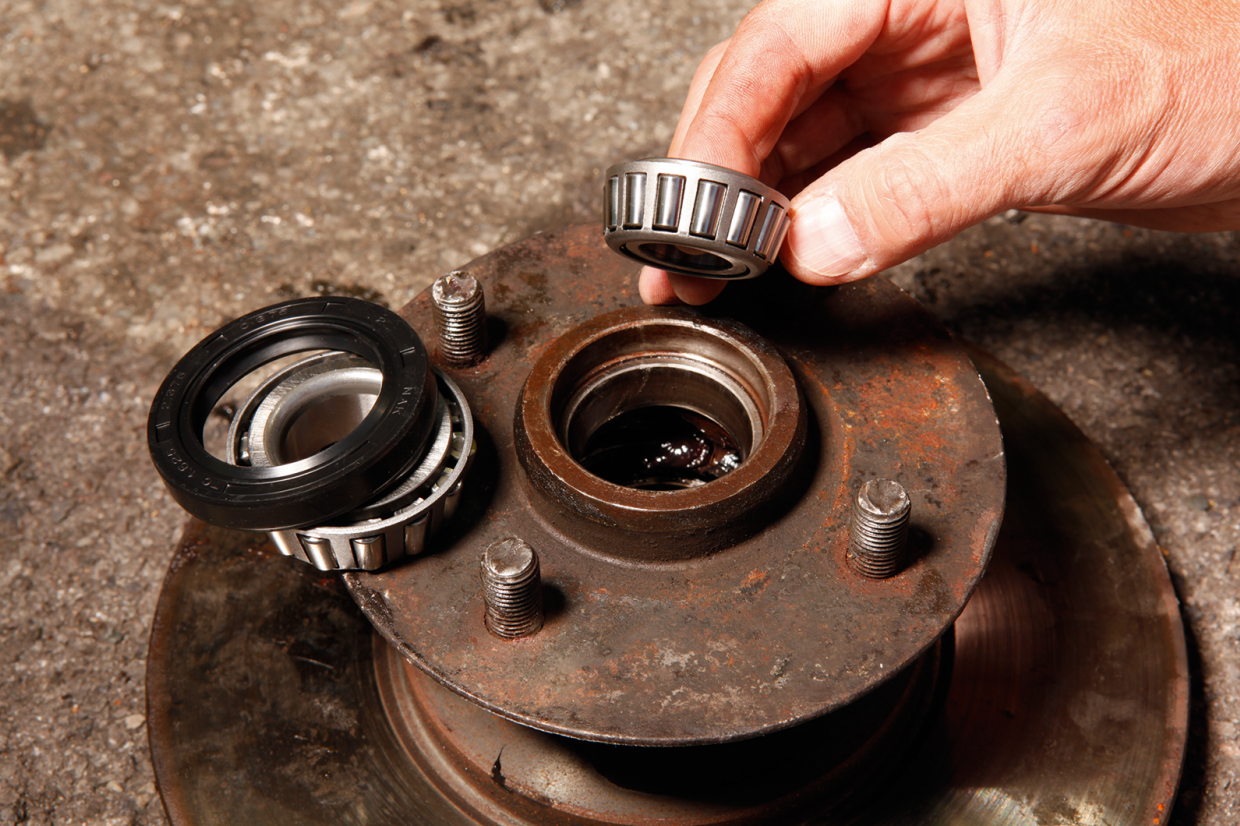
Once you’ve cleaned all of the old grease out of the hub, examine the bearing tracks.

If they’re worn, grooved or pitted, you need a new hub – but the outer races may be replaceable, so you can drift them out and press in those that usually come with the bearing kit. Then load the new bearing with grease.

6: PUSH IN A FRESH OIL SEAL

Classic & Sports Car - How to… renew a wheel bearing on your classic car

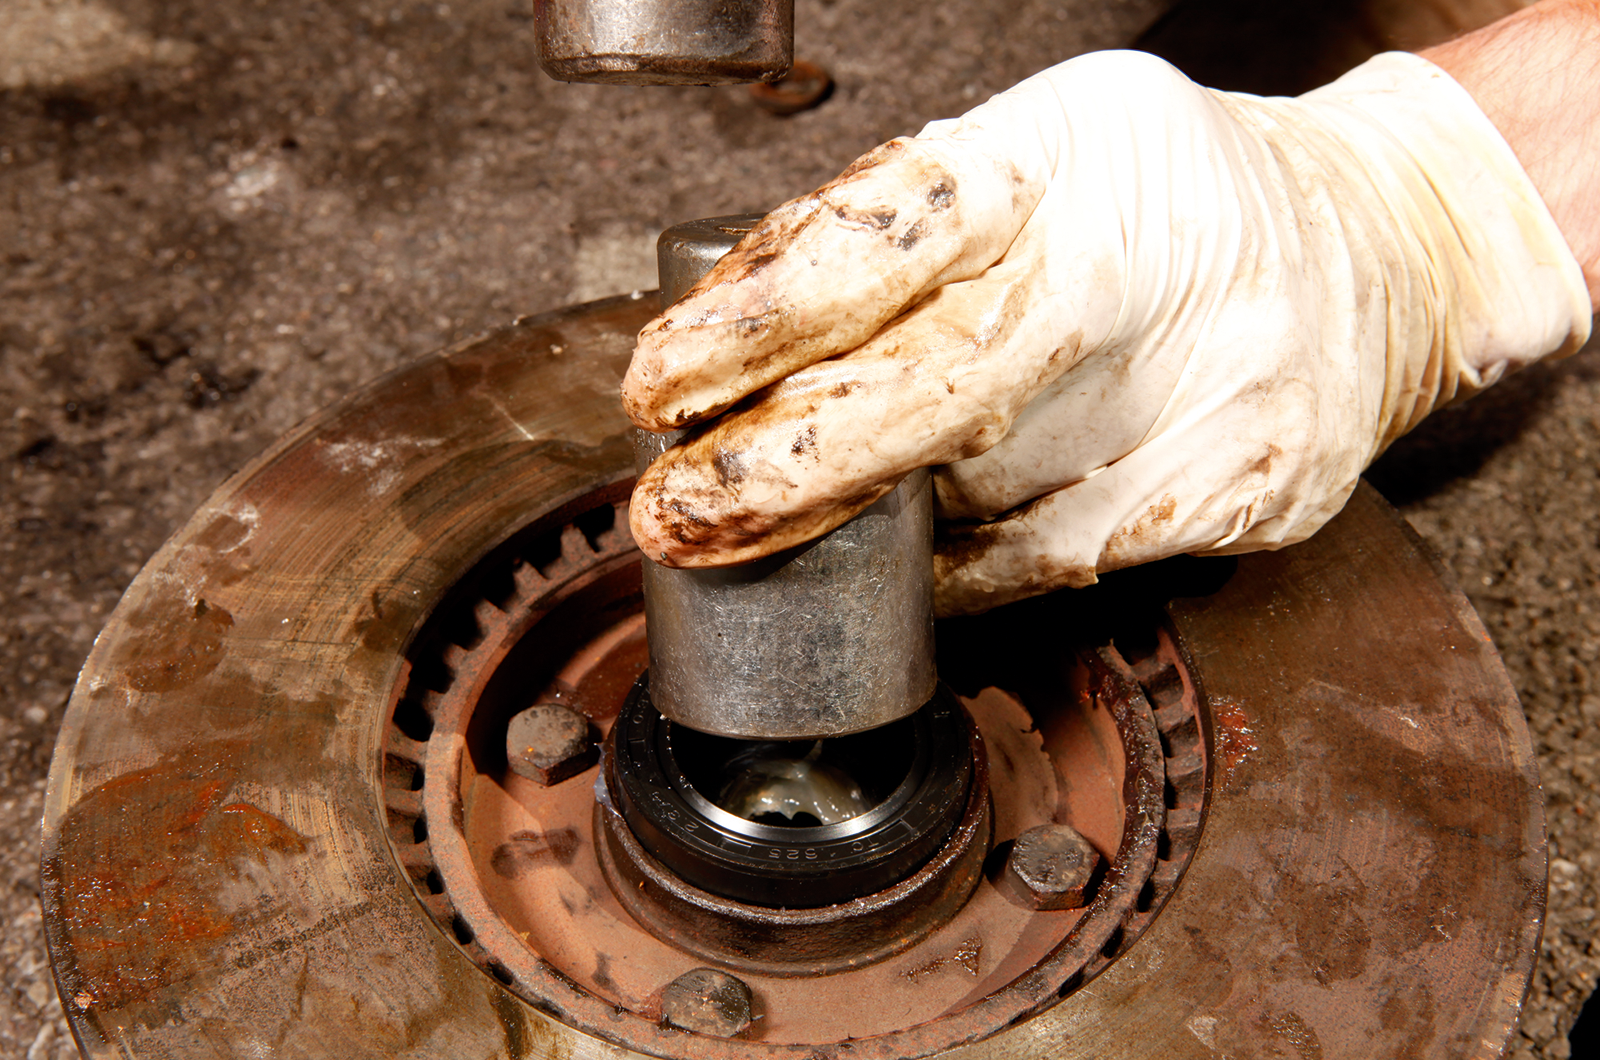
Before you fit the replacement bearing, put more grease on and behind its tracks, seat the new roller in its tracks, then press in the new oil seal.

You can use the old seal as a drift, or a socket if you have one large enough to match the outer diameter of the seal. The hub is now ready to go back on.

7: REPLACE HUB ON SPINDLE

Classic & Sports Car - How to… renew a wheel bearing on your classic car

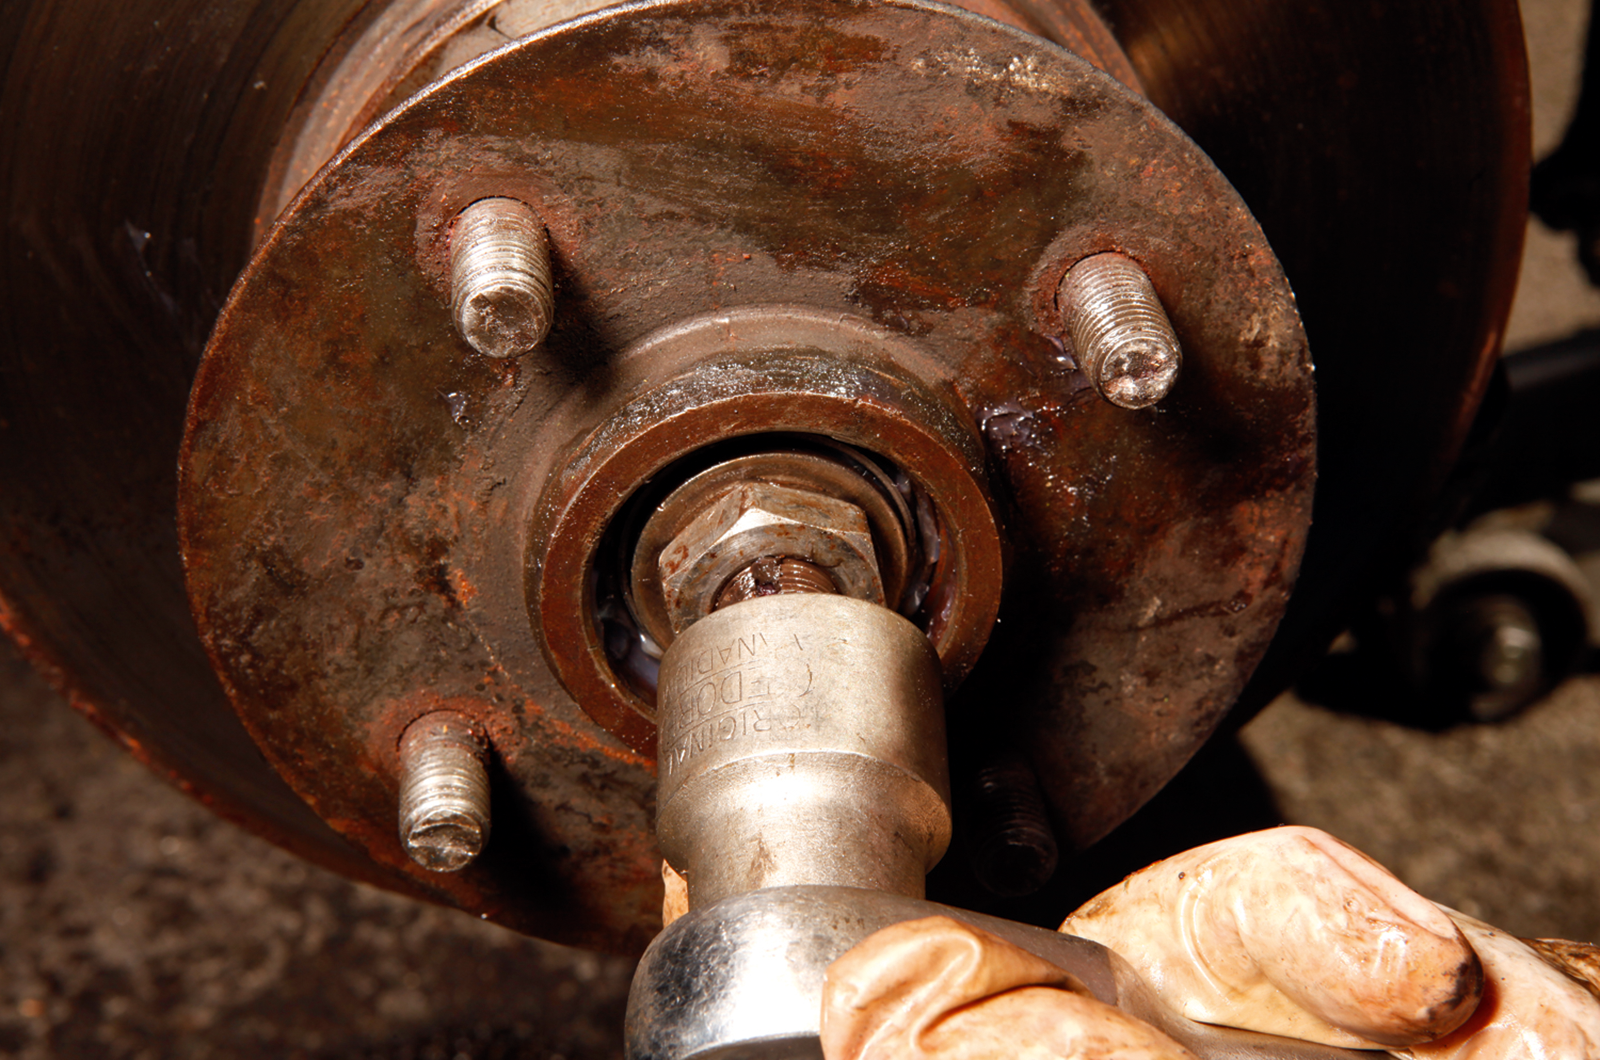
With the hub in place, slot in the outer bearing (as in main photo, but with grease), washer and nut.

Follow the car’s manual for the torque setting: as a rule of thumb, ‘bang it up tight, then back off’ – you don’t want the bearing so tight that it overheats. Rotating the disc and hub as you do this gives a feel for tightness.

8: REFIT THE NUT RETAINER

Classic & Sports Car - How to… renew a wheel bearing on your classic car

Replace the nut retainer, if fitted, (Ford’s type has uneven or vernier spacing, so you might need to try a few positions until you get the slots to line up), fit a new split-pin and wrap it around the spindle, and refit the dust cap.

Then remount the caliper, bleed the brakes, if necessary, and clean grease off the disc.


USEFUL CONTACTS


READ MORE

Check out all our ‘How to…’ guides here

How to buy a classic car

How to… prepare for a breakdown

How to… rustproof your classic car

How to... check the drum brakes on your classic car

How to... check your classic car’s electrics

How to… adjust your classic car’s headlights

How to... change a clutch on your classic car