How to… overhaul your classic car’s fuel tank

| 13 May 2020
Classic & Sports Car – How to… overhaul your classic car’s fuel tank

A clean, leak-free petrol tank is vital for the reliability and safety of your classic car, but its internal condition is often overlooked, resulting in rust and crud clogging the system.

If your car still has its original steel item, chances are it has muck inside, particularly if the car has been off the road for any length of time.

When petrol evaporates it leaves sticky varnish deposits, while trapped moisture will rust the walls. Removal and a thorough flushing is the only way to clean it.

You can take this opportunity to apply a vinyl-resin lining that in effect creates a bag inside the tank to seal minor leaks and prevent future corrosion.

Examine the tank’s seams, too, for corrosion and damage, and ensure that the plumbing is in good order. And consider adding a fuel stabiliser to preserve the tank if your classic isn’t used much or is stored in winter.

Always disconnect the battery before working on a fuel system and never attempt to weld a tank; even old ones that have been empty for years can still harbour flammable vapours.

Even wire-brushing can cause sparks, so always work in a well-ventilated area, preferably outside, and have an extinguisher handy in case the worst happens.


1: DRAIN THE FUEL
Classic & Sports Car – How to… overhaul your classic car’s fuel tank

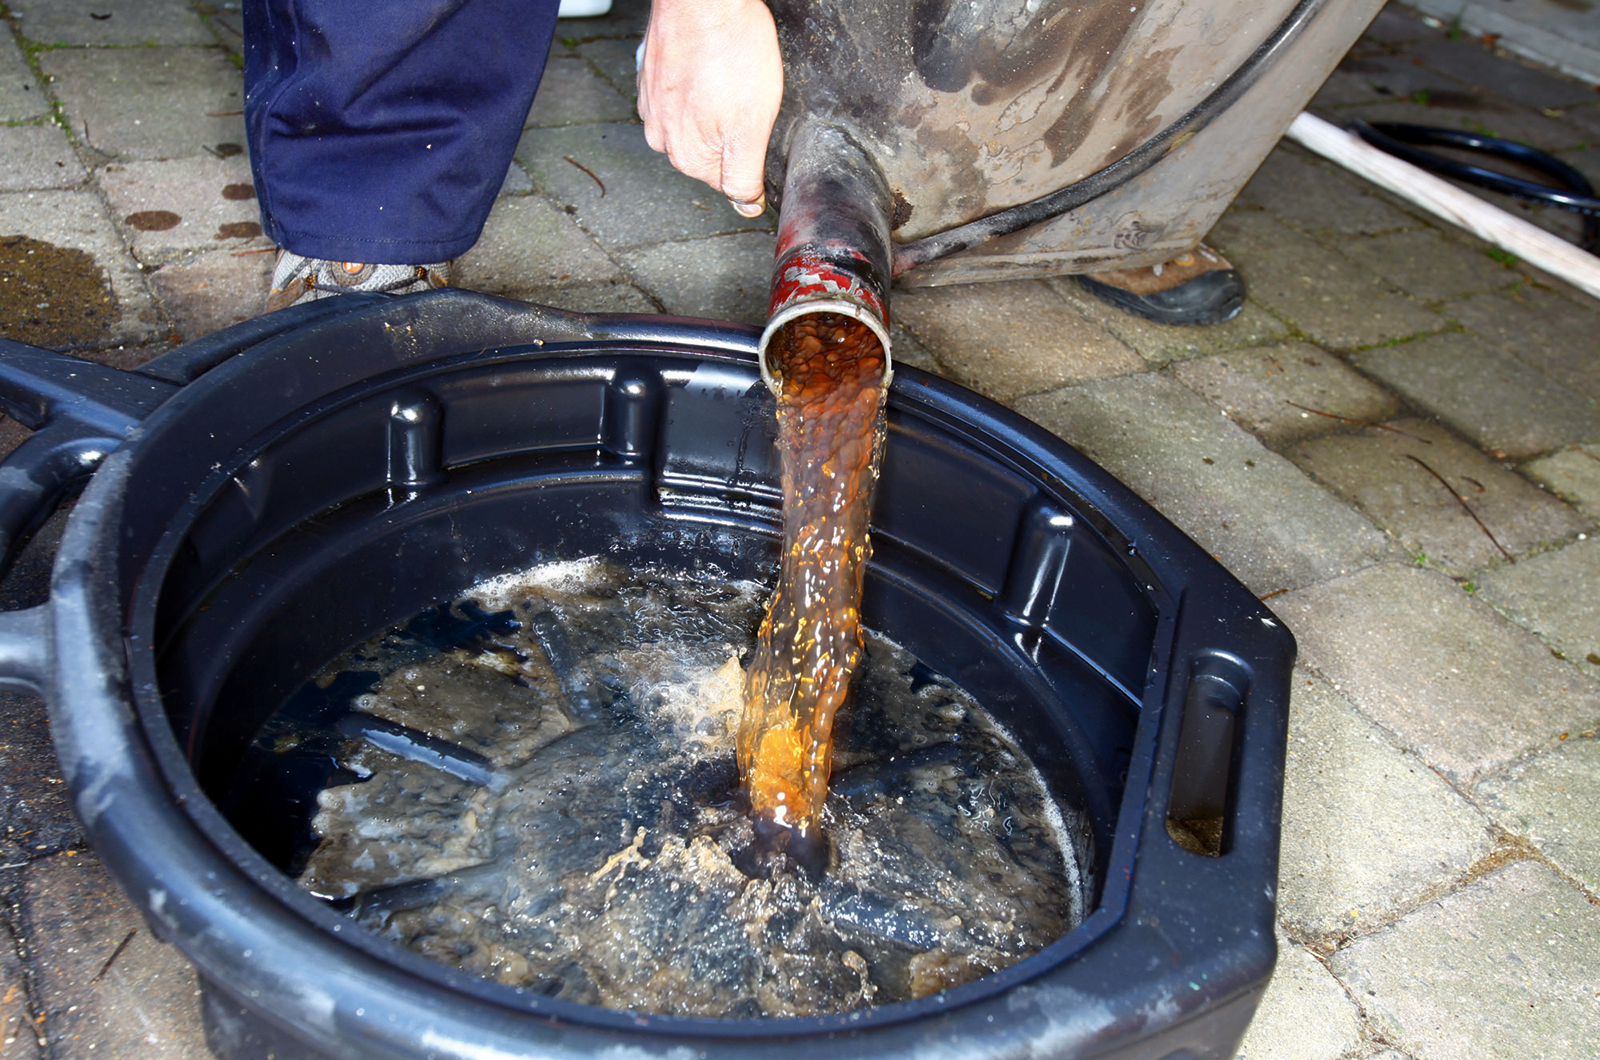
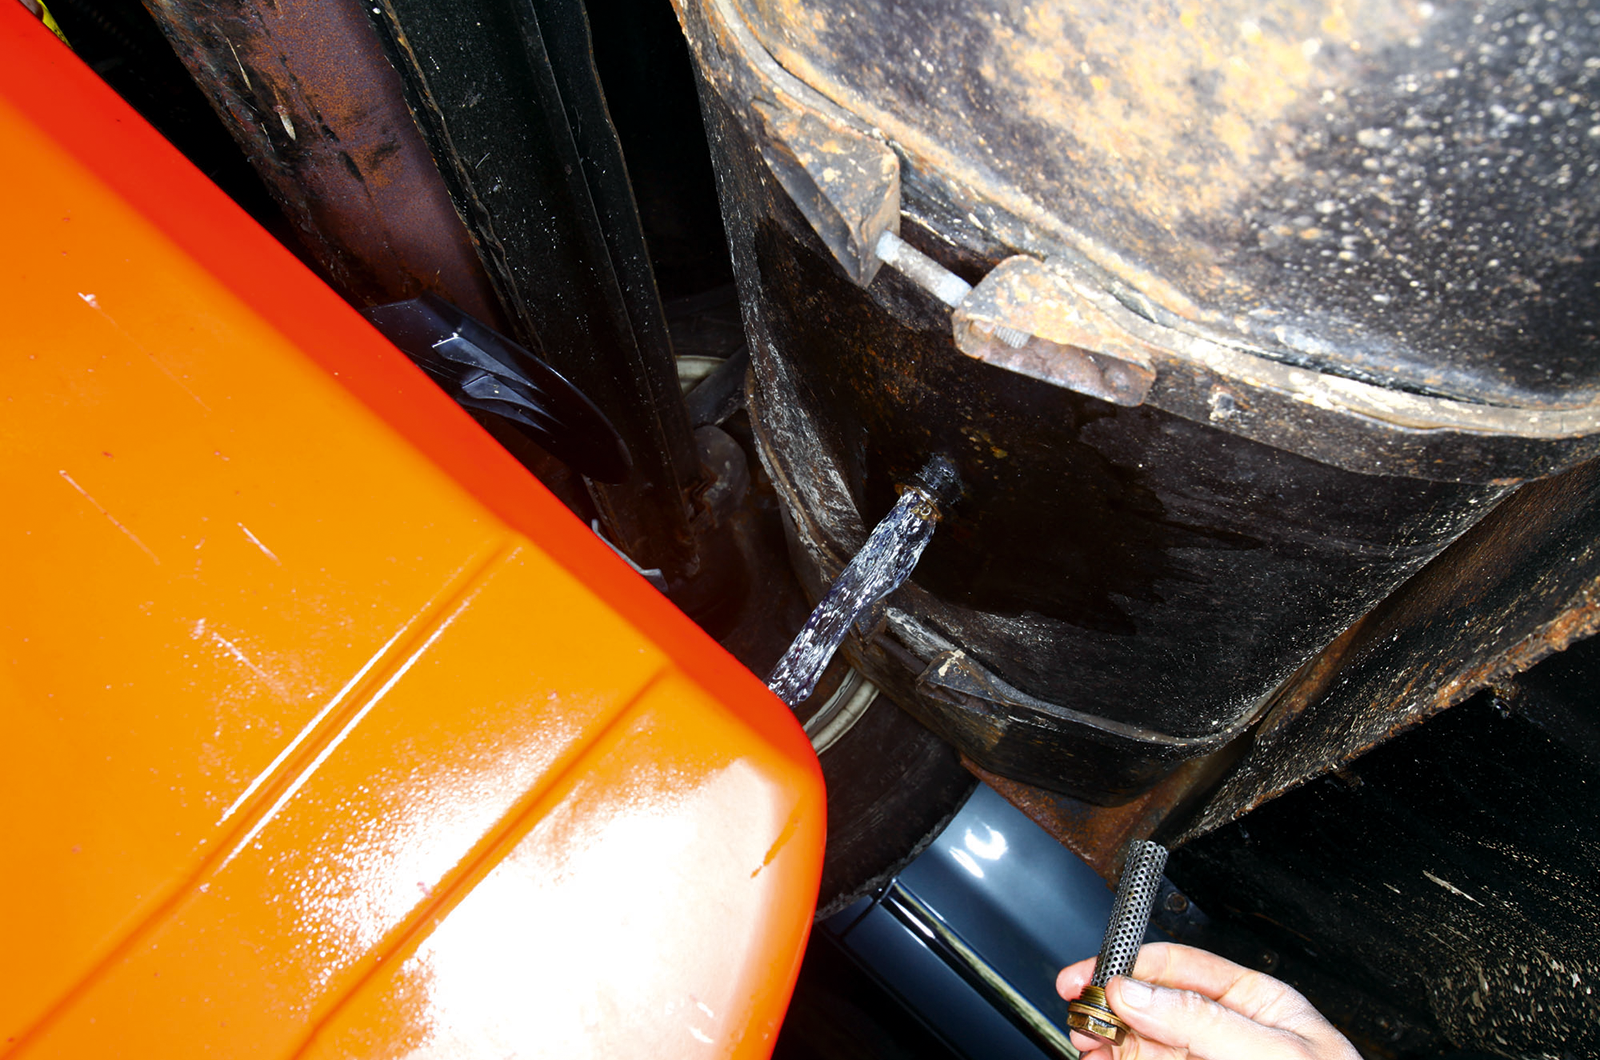
Ensure that the tank is as close to empty as possible and always use a certified receptacle. Leave the filler cap on to help moderate the flow.

Wear petrol-resistant gloves and remove the plug; hold on to it in case you need to stem the stream. Have spare containers handy in case there is any overflow.

2: UNCOUPLE SENDER UNIT

Classic & Sports Car – How to… overhaul your classic car’s fuel tank

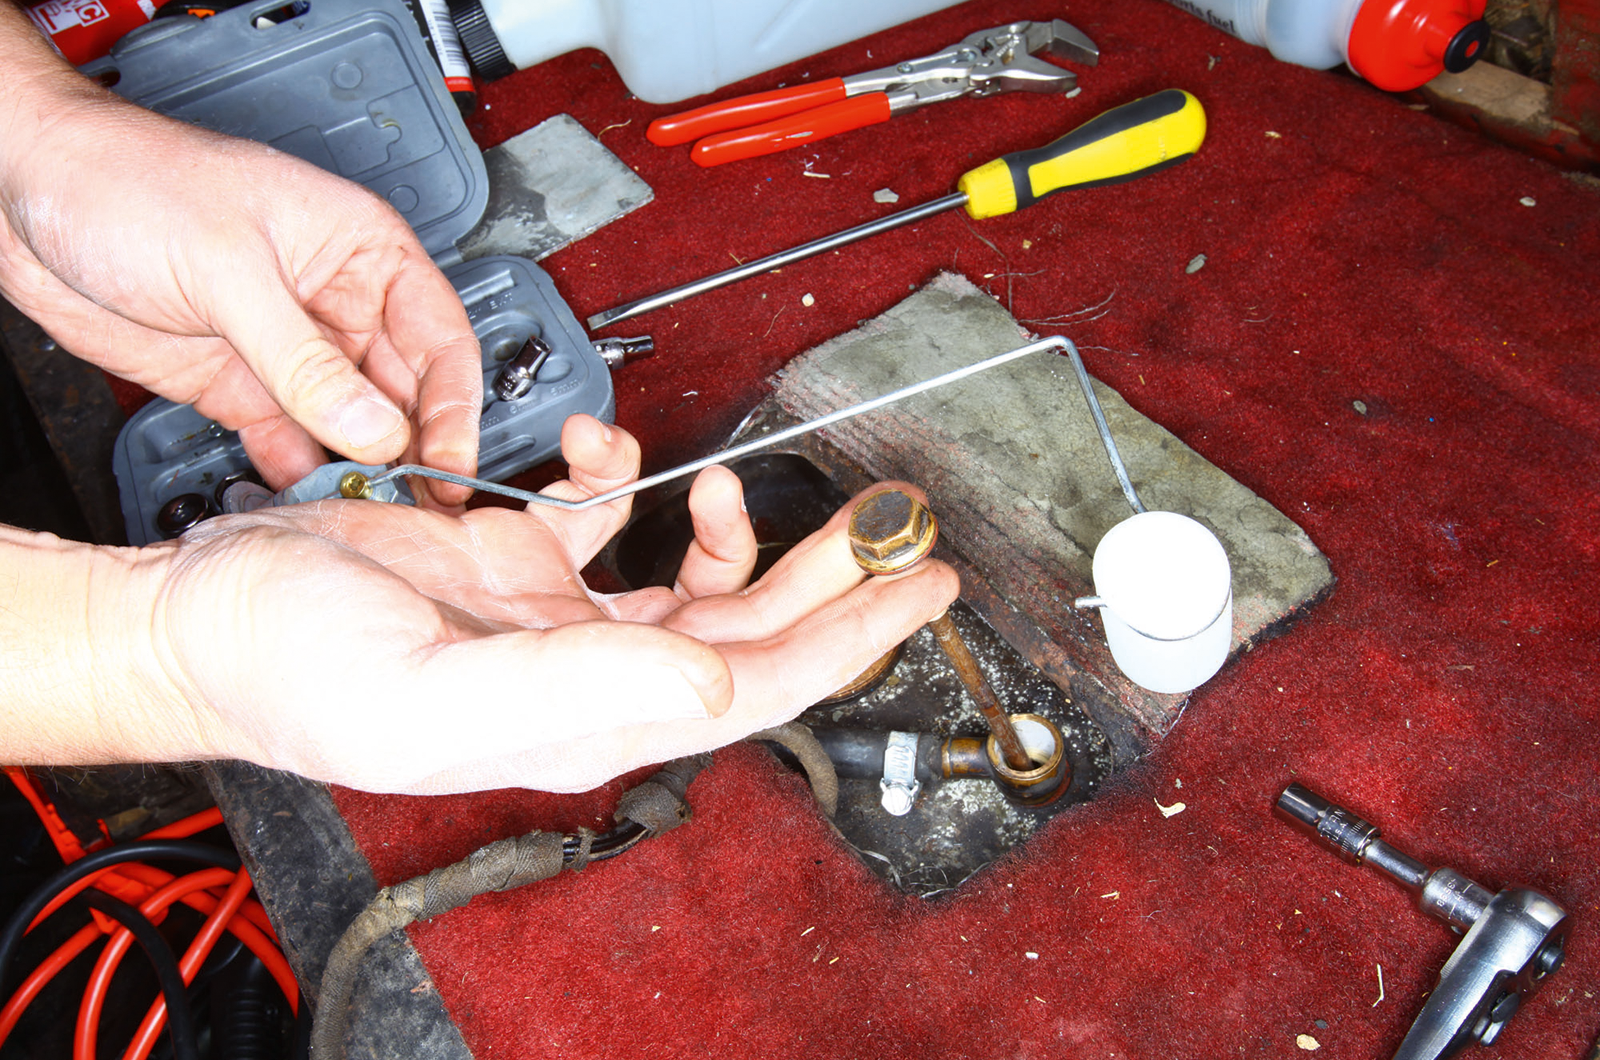
Disconnect the wires to the fuel gauge’s sender before gently removing the unit and float assembly.

Undo the pick-up pipe and carefully withdraw it from the tank – if it’s removable, that is. Locate and disconnect the breather pipe, which may be connected to the bodywork.

3: DETACH FILLER COLLAR

Classic & Sports Car – How to… overhaul your classic car’s fuel tank

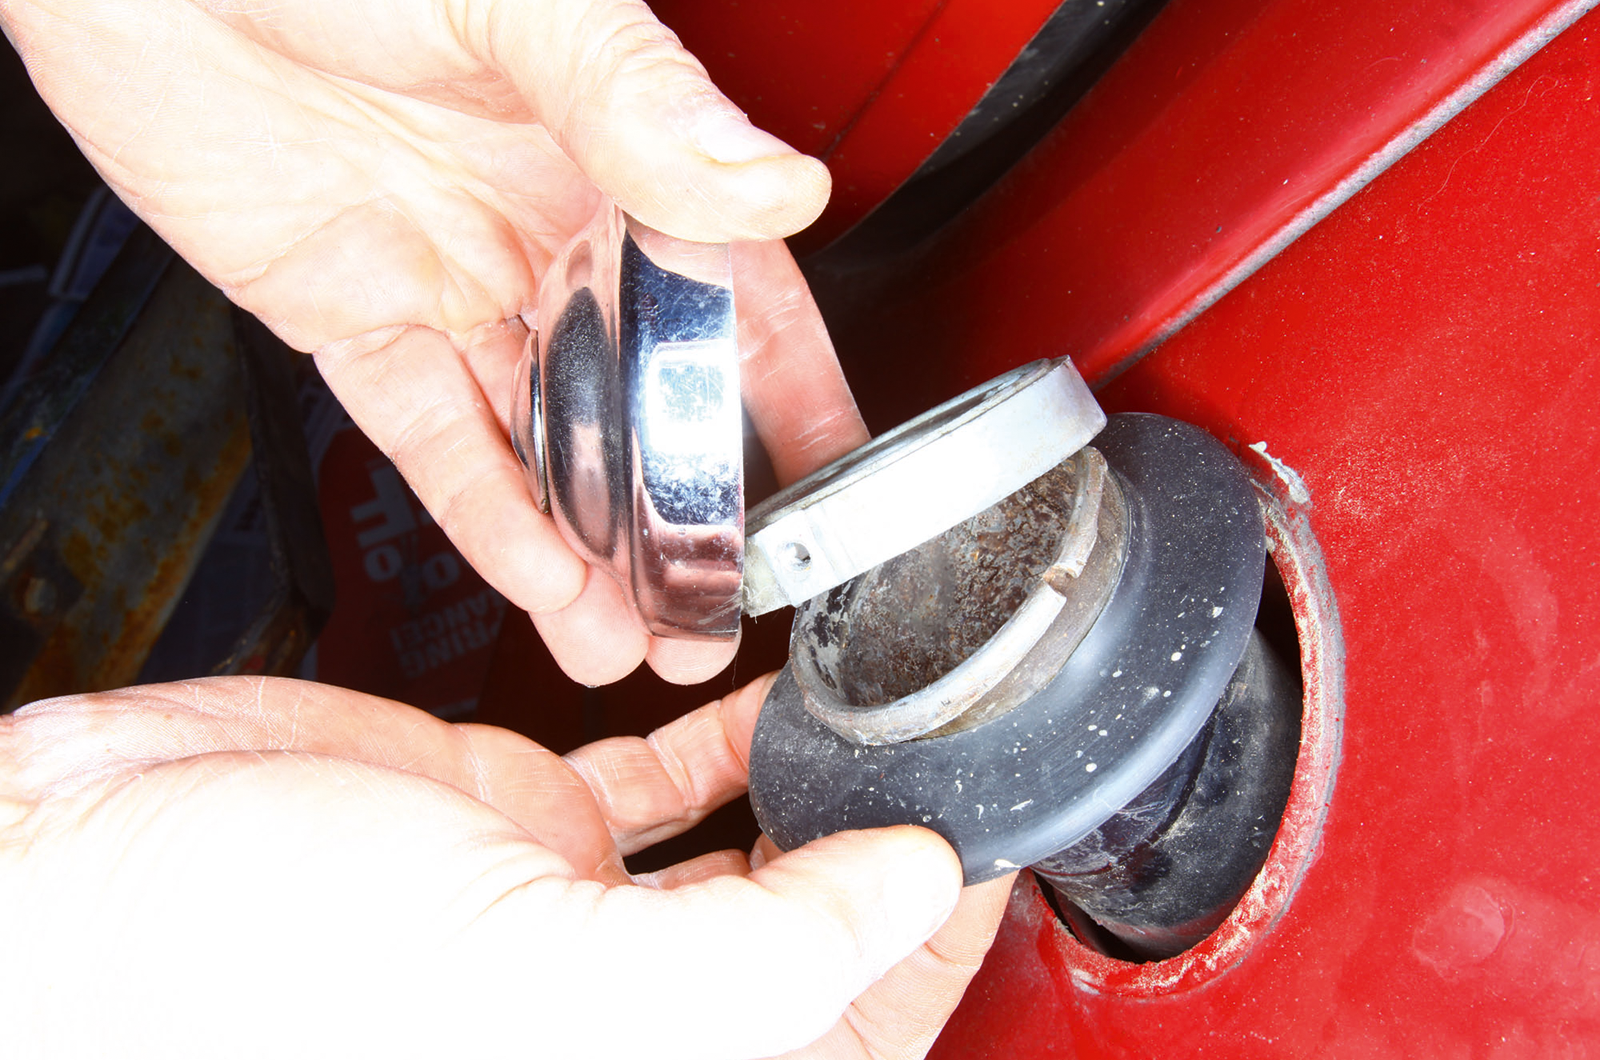
Disconnect the tank from its filler assembly. On classic cars with a fixed filler that passes through the bodywork, you will need to remove the cap’s mechanism, which is typically attached using a small grub-screw.

Take care to remove and preserve any seals, rubber collars or hose clamps.

4: UNBOLT AND REMOVE

Classic & Sports Car – How to… overhaul your classic car’s fuel tank

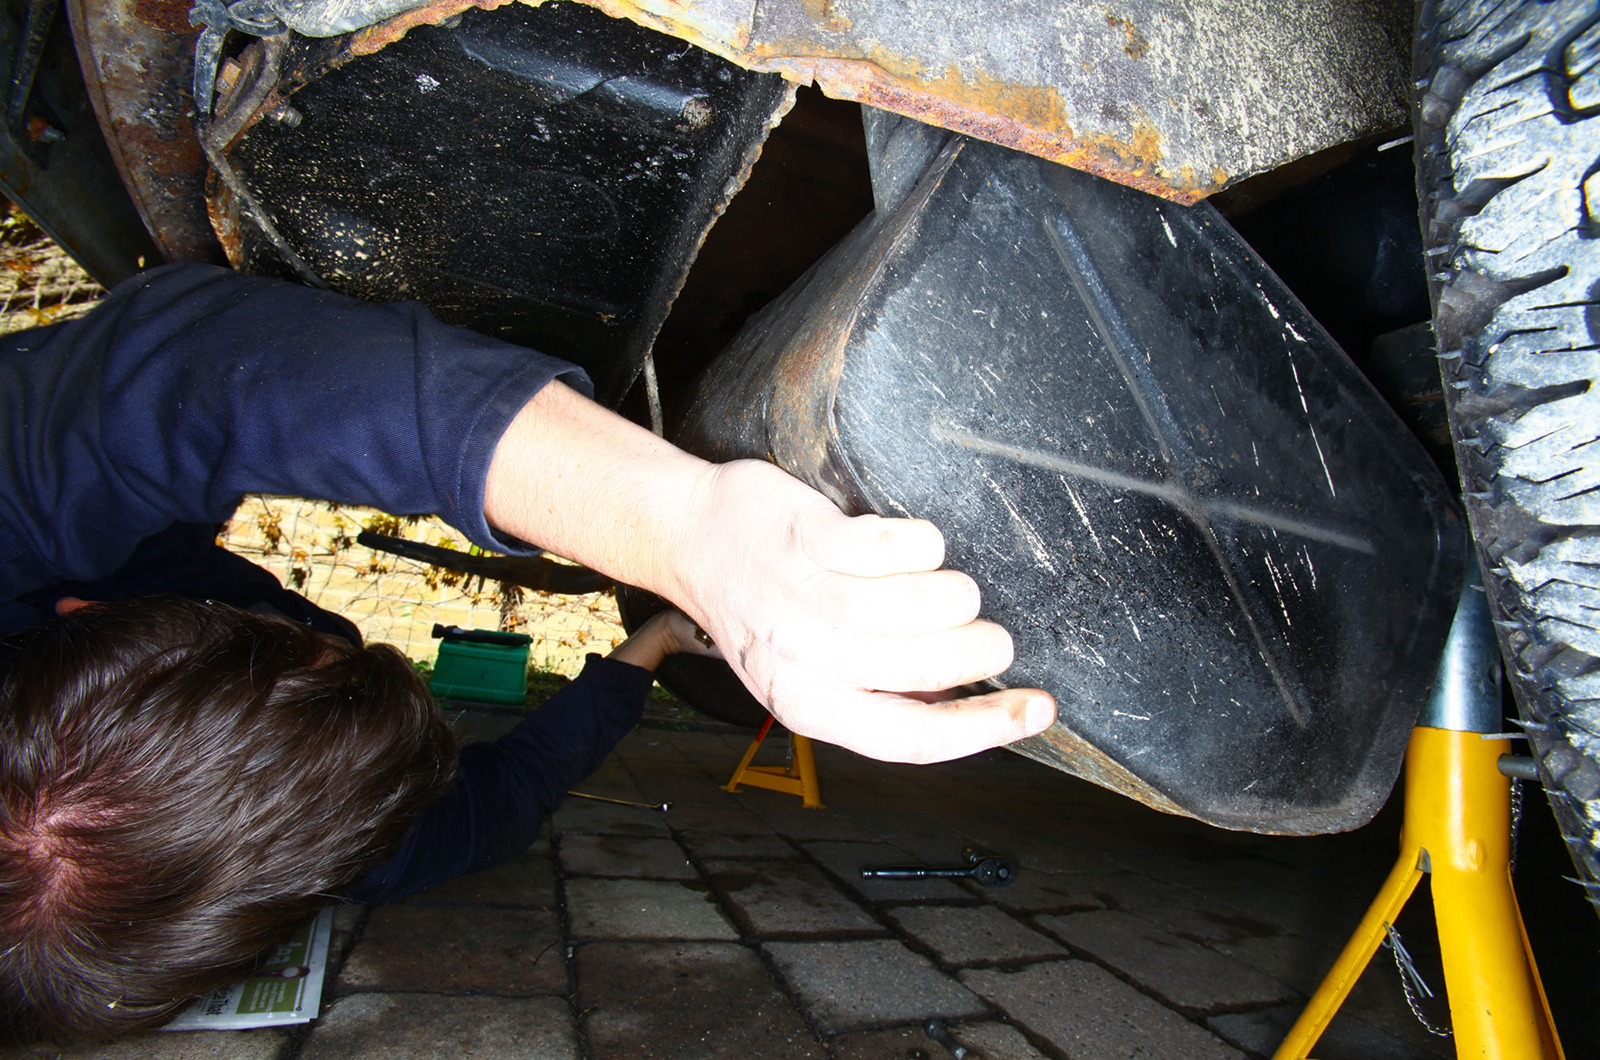
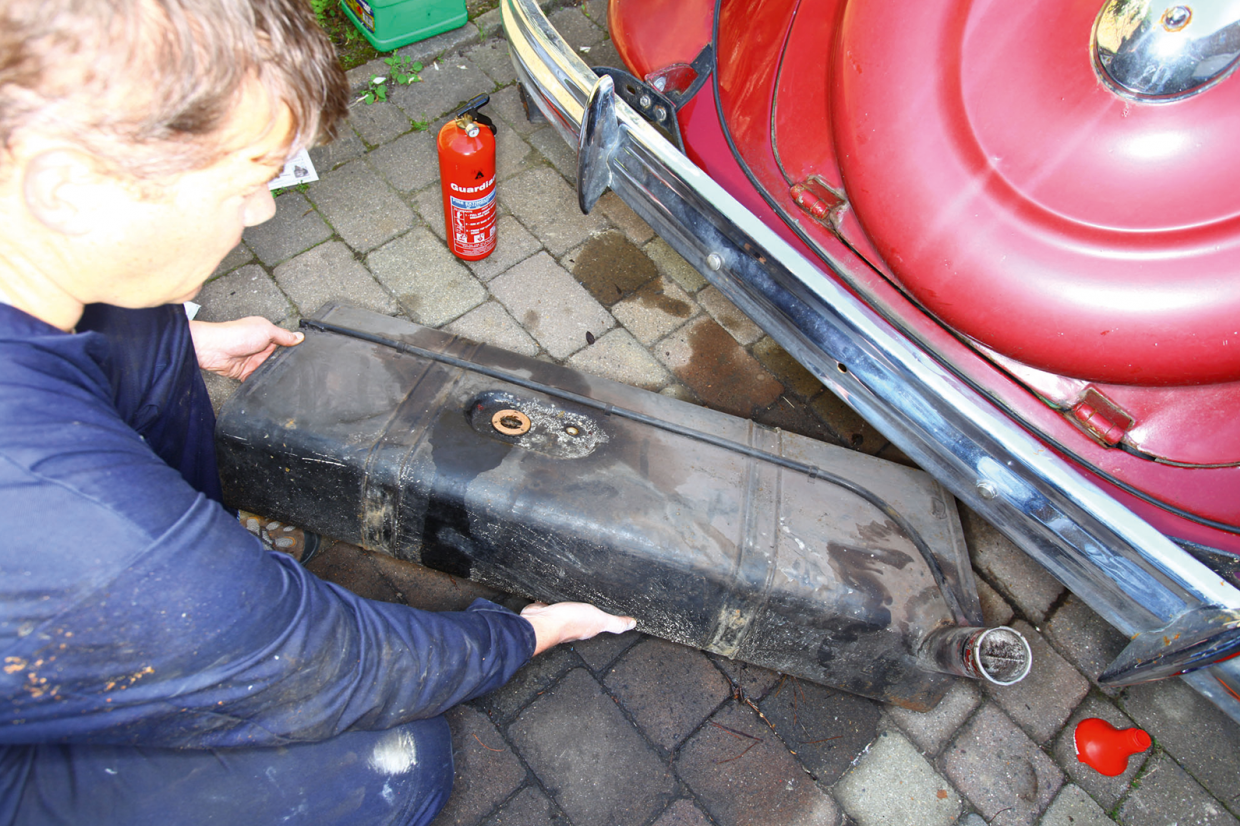
Tank fixings vary: some classics have them mounted directly to the body via bolts around their perimeter, others have straps that loop underneath. The latter will have to be unbolted and gently separated.

Warning: support the tank before freeing it, because it will be heavier than it looks.

5: SWIRL WITH CLEANER

Classic & Sports Car – How to… overhaul your classic car’s fuel tank

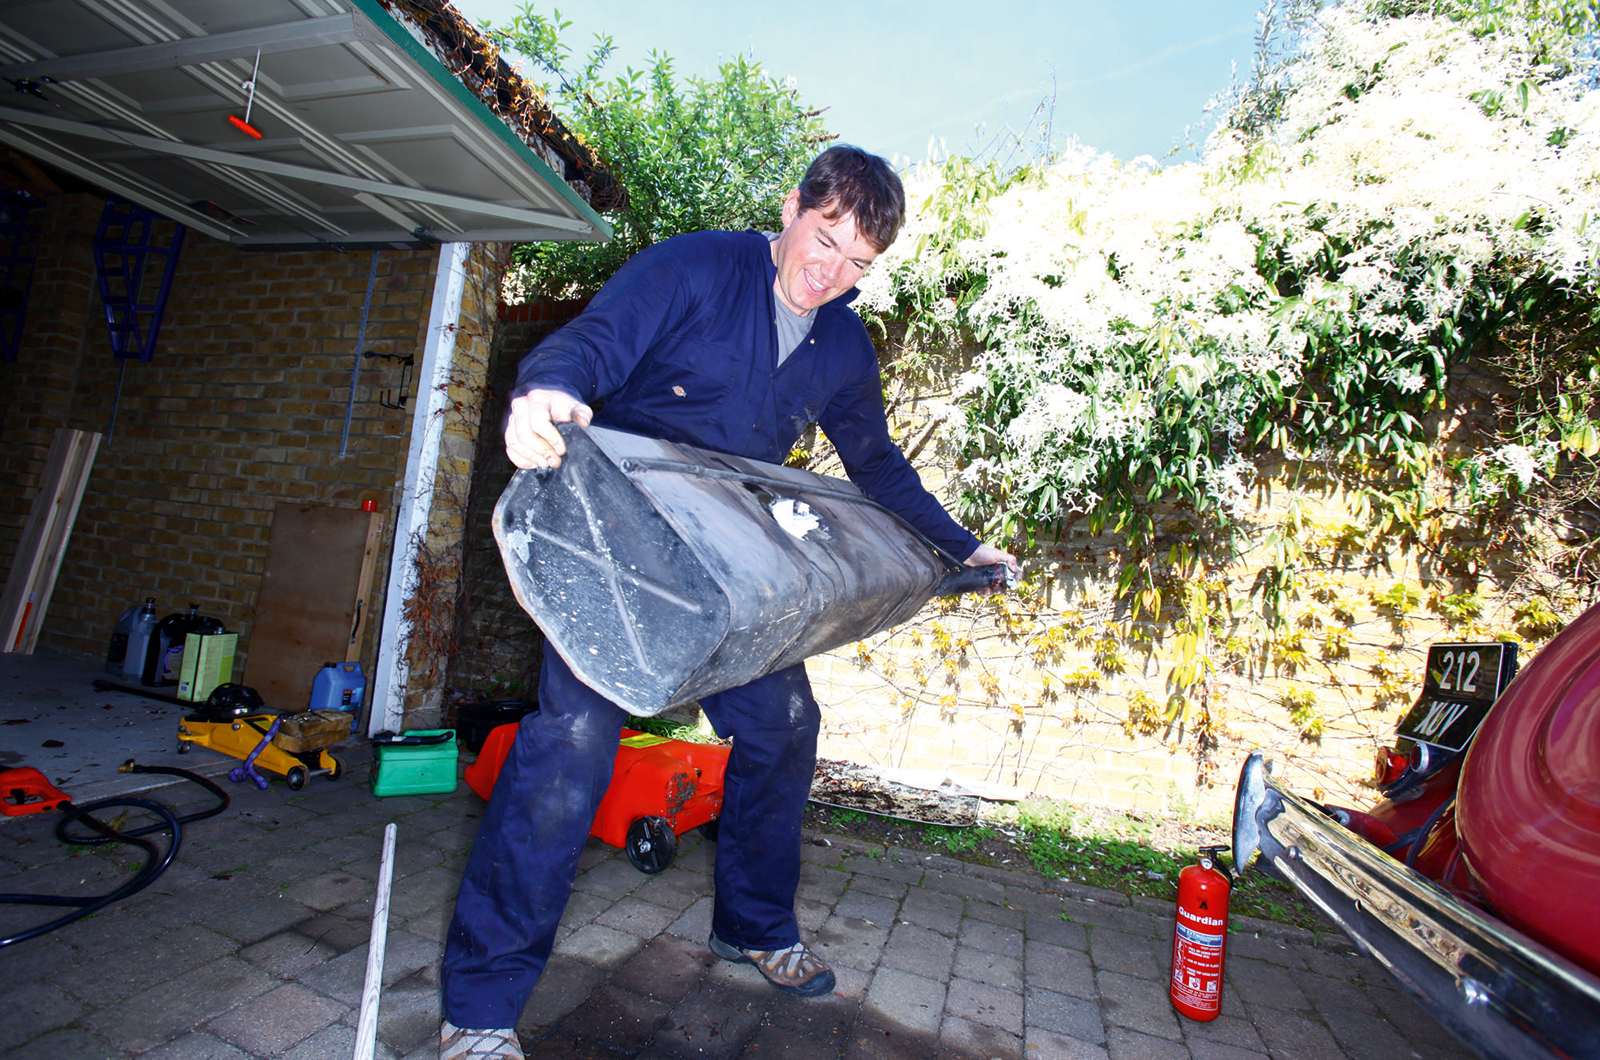
Plug the holes with wooden bungs or duct tape and pour in a suitable cleaner (typically Marine Clean) in a 50:50 mix with hot water.

Pass – and hold on to – a chain or wire down the filler neck; this should have a series of nuts or a set of old keys on it to help loosen any rust as you shake the tank from side-to-side.

6: PREPARE INNER SURFACES

Classic & Sports Car – How to… overhaul your classic car’s fuel tank

Repeat the previous step until the liquid comes out clean. Leave the open tank to dry overnight.

Pour in etching liquid. Shake vigorously to ensure that all the surfaces (including any baffles) are covered, then leave for half an hour before draining the excess liquid.

Repeat and allow to dry for at least 24 hours.

7: COAT INNER SURFACES

Classic & Sports Car – How to… overhaul your classic car’s fuel tank

Check that the inside of the tank is dry before blocking its holes with wooden bungs or duct tape.

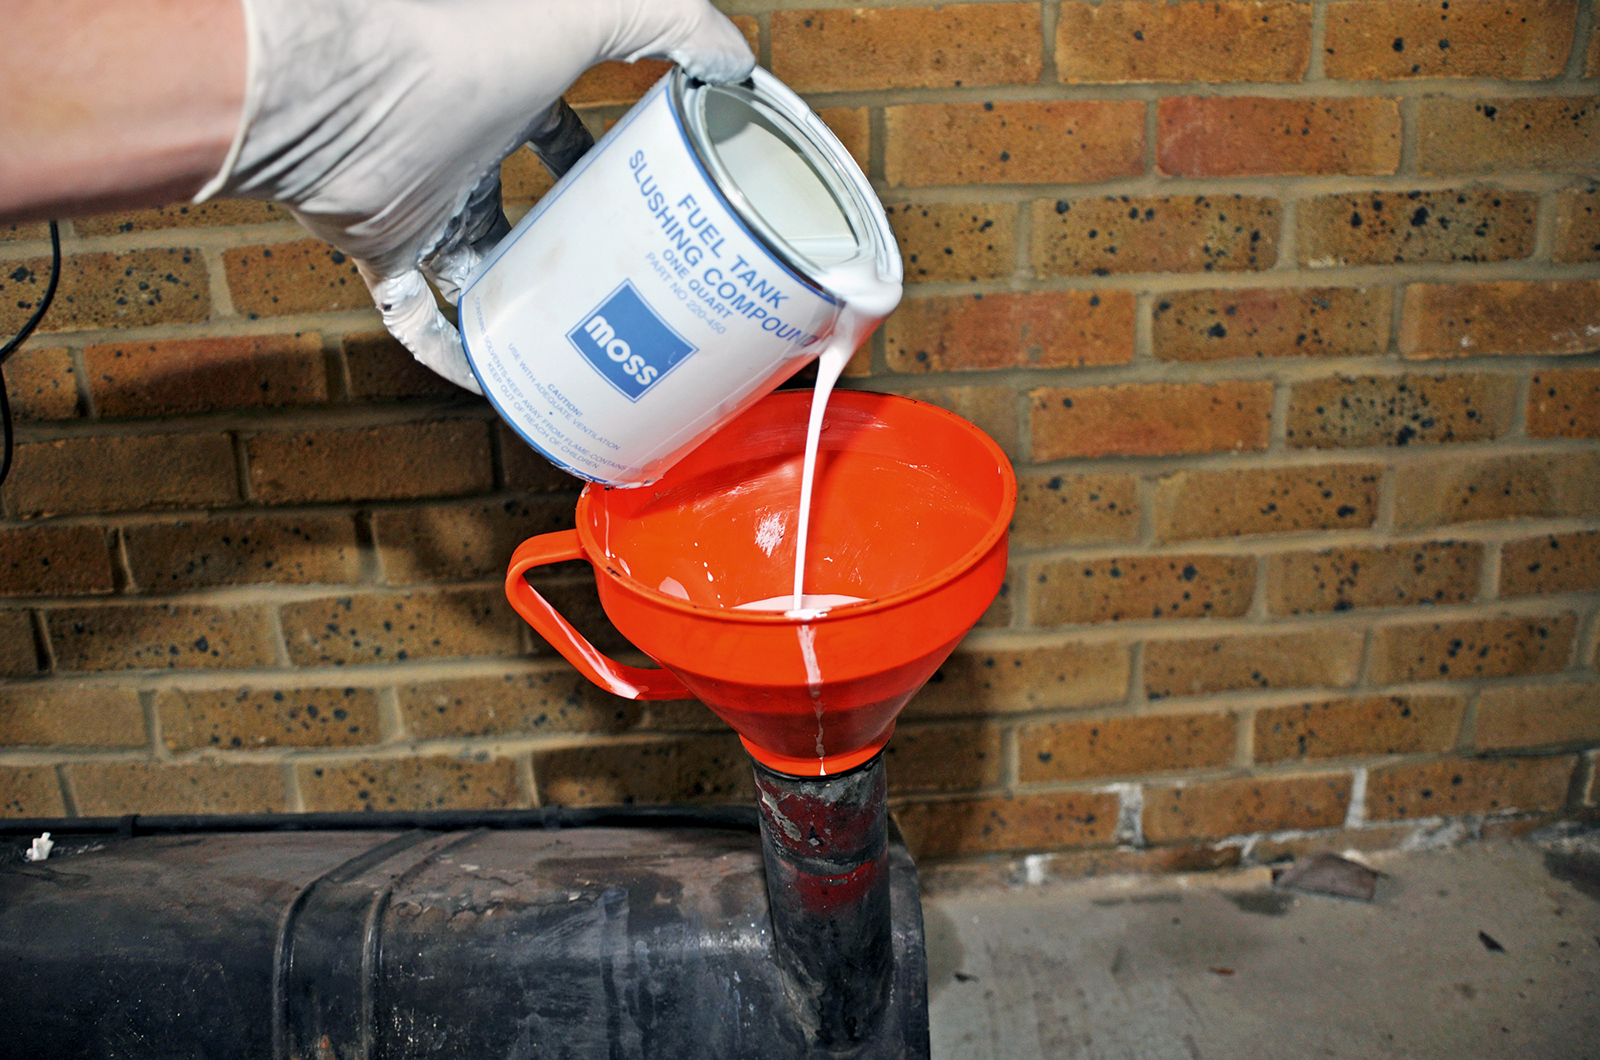
Pour in a vinyl-resin lining fluid, seal the filler and shake the tank vigorously in several directions, including upside down, for 10 minutes.

Pour out any leftover fluid immediately and leave to air for two days.

8: CLEAN AND PAINT EXTERIOR

Classic & Sports Car – How to… overhaul your classic car’s fuel tank

Wash the tank’s outer surface with a degreaser or Marine Clean.

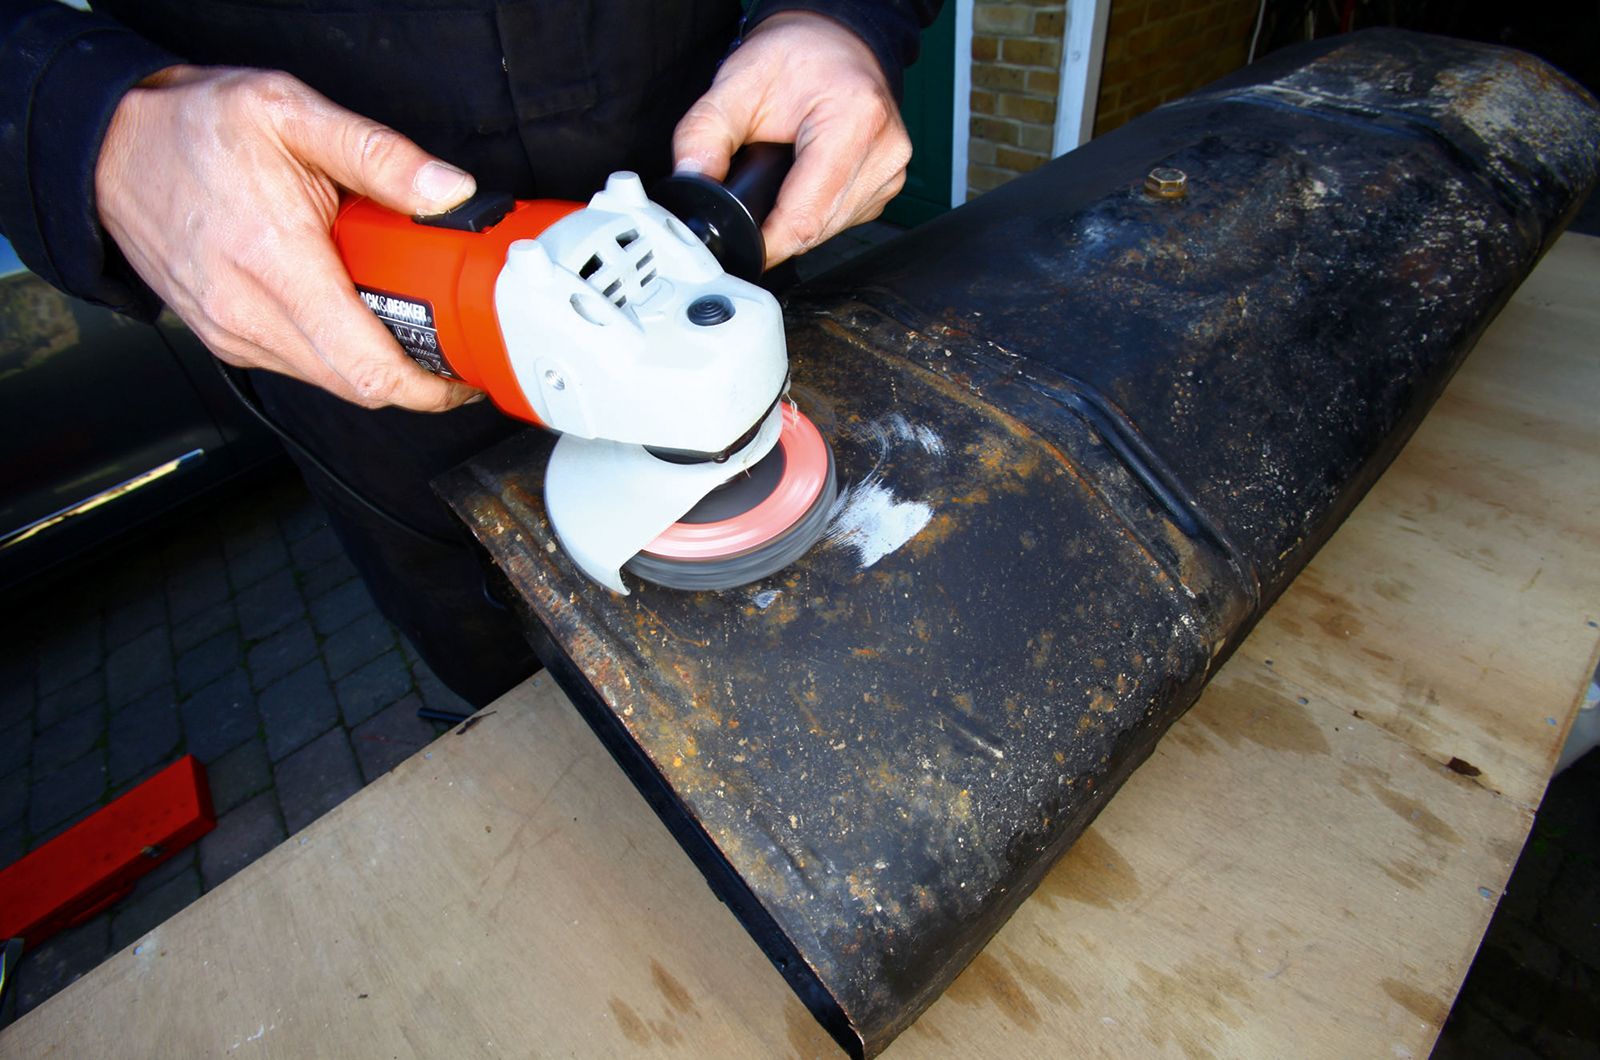
Use a stiff brush or a nylon scouring pad on a drill or an angle grinder to remove any rust. Treat any substantial corrosion with a chemical rust-remover.

Fill the tank with water if you are using anything that might cause a spark.


USEFUL CONTACTS


READ MORE

Check out all our ‘How to…’ guides here

How to buy a classic car

How to… prepare for a breakdown

How to… rustproof your classic car

How to... check the drum brakes on your classic car

How to... check your classic car’s electrics

How to… adjust your classic car’s headlights

How to... change a clutch on your classic car